
How to Throw Pottery on a Wheel: A Complete Beginner’s Guide (2026)
Pottery throwing is the technique of shaping wet clay on a spinning pottery wheel using your hands to form vessels like bowls, mugs, vases, and plates. The clay is centered on the wheel head, opened to create a base, and gradually pulled upward into walls. Most beginners need 8 to 20 hours of practice to throw a recognizable cylinder.
Wheel throwing looks effortless when you watch a skilled potter. Hands cradle a spinning lump of clay, and somehow a perfect vessel rises out of nowhere. Then you sit at the wheel yourself, and the clay flies off, climbs sideways, or collapses into a wet heap. This is normal. Every potter has been there.
The truth nobody tells beginners: throwing pottery is not about strength or talent. It is about body mechanics, patience, and one very specific skill called water management. Get those right, and the wheel starts to feel like an extension of your hands. Get them wrong, and you will fight the clay for hours. This guide walks you through every step, every common mistake, and the exact timeline you should expect.
What Is Pottery Throwing? (And Why Is It Called Throwing?)
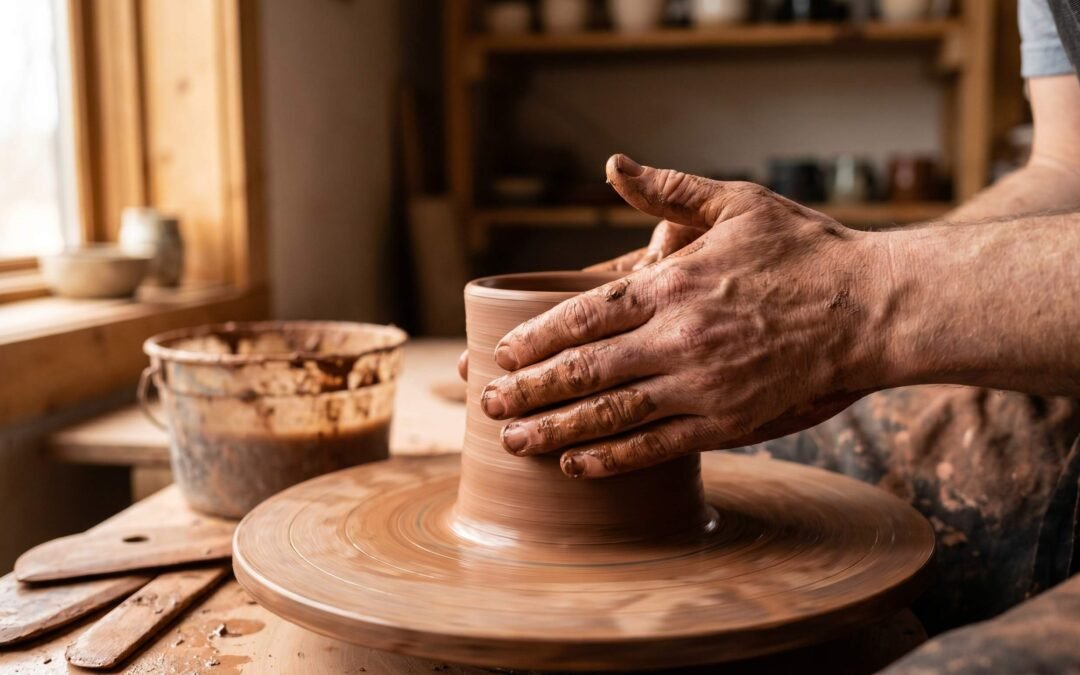
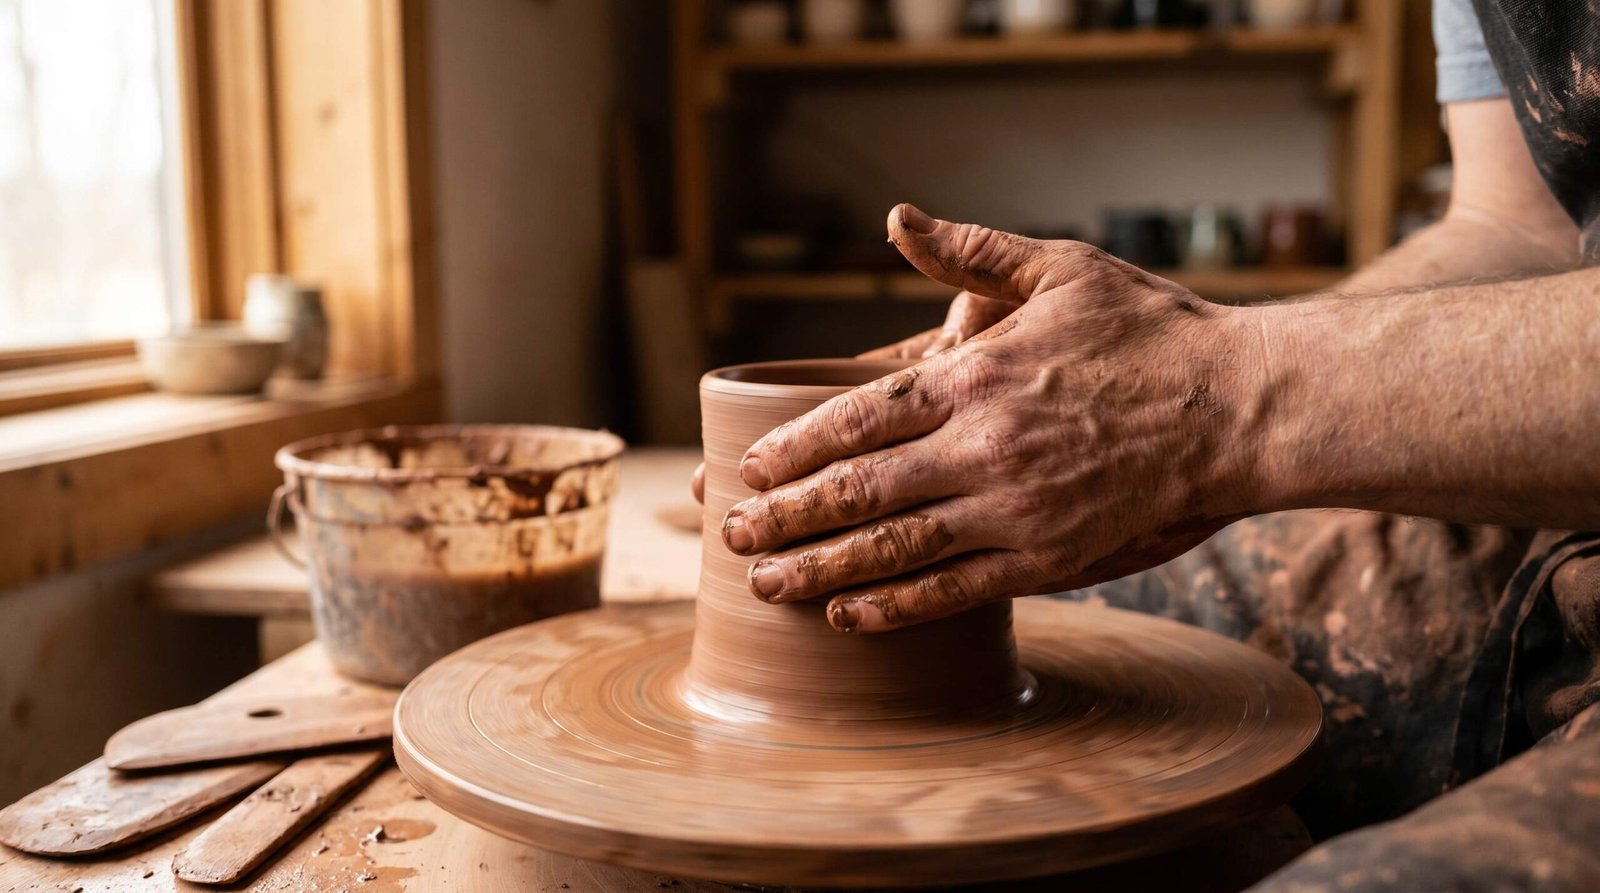
Pottery throwing means shaping clay on a rotating wheel using your hands and simple tools. The wheel spins beneath the clay while your hands apply pressure to coax the material upward and outward into a chosen form. As the clay rotates against your fingers, even pressure produces even walls. It is one of the oldest manufacturing technologies on earth, dating back roughly 6,000 years.
The word “throw” sounds strange because you are not actually throwing anything. The term comes from the Old English word “thrawan,” which means to turn, twist, or rotate. Over centuries, “thrawan” evolved into the modern English “throw,” but in the pottery context it kept its original meaning. So when a potter says they are throwing a bowl, they are saying they are turning a bowl on the wheel. The everyday meaning of throw (to hurl something through the air) is a completely different branch of the same root word.
How the Process Works Mechanically
The pottery wheel rotates at a controlled speed, usually between 60 and 200 revolutions per minute depending on the stage. The clay sits at the center of the wheel head. As it spins, your stationary hands act like a lathe cutter, except softer and more forgiving. By varying the pressure, angle, and position of your fingers, you change the shape of the clay. Inward pressure narrows the form. Upward pressure stretches the walls taller. Outward pressure widens it.
The key insight: you are not really shaping the clay with raw force. You are letting the wheel’s rotation do the work while your hands provide guidance. This is why grip strength matters far less than steady positioning and posture.
Wheel Throwing vs Hand Building
| Aspect | Wheel Throwing | Hand Building |
|---|---|---|
| Best for | Symmetrical, round vessels: bowls, mugs, vases, plates | Sculptural, asymmetric, or large flat pieces: slabs, tiles, figures |
| Learning curve | Steep at first, plateaus quickly once you master centering | Gentler curve, but mastery takes longer for complex forms |
What You Need Before You Start
You cannot throw pottery without three things: a working wheel, throwing-grade clay, and a small kit of basic tools. The good news is the entry cost is lower than most beginners assume. A used kick wheel can be found for a few hundred dollars, and 25 lbs of clay costs roughly $20. Here is what to gather.
The Pottery Wheel
There are two main types of wheels: kick wheels and electric wheels. Kick wheels are powered by your foot pushing a heavy flywheel. They are quiet, durable, and force you to develop rhythm. Electric wheels use a foot pedal for speed control and a motor for power. They are easier for beginners because you can focus on the clay instead of maintaining momentum. Most studios and classes use electric wheels for this reason. If you want a deeper breakdown of features, motor wattages, and wheel-head sizes, see our pottery wheel buying guide.
Choosing the Right Clay for Throwing
Not all clay works on the wheel. This catches many beginners by surprise. The clay you buy for hand building, sculpture, or kids’ projects often has the wrong properties for wheel work. Throwing clay needs high plasticity, which means it stretches without tearing. It also needs minimal grog, which is the gritty material added to clay to reduce shrinkage and warping. Grog is your enemy on the wheel. Coarse particles tear your fingertips raw within minutes and resist smooth pulling.
For your first sessions, buy 20 to 25 lbs of a smooth throwing body. Stoneware is the standard recommendation. It fires durable, takes glaze well, and is forgiving while wet. Read our guide on the best pottery clays for beginners for specific brand recommendations. If you want to understand why plasticity and particle size matter so much, the materials database at throwing clay properties covers the science in detail.
| Clay Type | Workability on Wheel | Firing Temperature | Best for Beginners? |
|---|---|---|---|
| Earthenware | Very plastic, soft, easy to throw small forms | Low fire (1830 to 2100 F, cone 06 to 02) | Yes, especially red clay bodies |
| Stoneware | Excellent plasticity, balanced strength, the workhorse clay | Mid to high fire (2150 to 2380 F, cone 5 to 10) | Yes, the standard beginner choice |
| Porcelain | Smooth and beautiful but slumps easily, demands precise water control | High fire (2280 to 2380 F, cone 9 to 10) | No, wait until you can throw cylinders consistently |
Essential Tools for Throwing
You do not need a packed toolbox. Five or six items will get you through your first six months at the wheel. For a complete kit breakdown, see our list of essential pottery tools.
| Tool | What It Does |
|---|---|
| Wire tool | Cuts the finished piece off the wheel head or bat using a thin wire |
| Ribs (wood and rubber) | Smooth and shape walls, compress rims, refine profiles |
| Sponges (large and small) | Carry water, soak excess water from the inside of pieces, smooth surfaces |
| Throwing needle | Trims uneven rims, measures wall thickness, scores joins |
| Bats | Removable disks that attach to the wheel head so you can lift pieces off without distortion |
| Calipers | Measure diameters when making matching sets like lidded jars |
How to Throw Pottery on a Wheel: Step-by-Step
These seven steps form the complete throwing sequence. Follow them in order. Each step builds on the previous one, and skipping ahead causes problems later. Read through the full sequence once before you sit at the wheel, then refer back to each step as you practice.
Step 1: Wedge Your Clay
Wedging is to clay what kneading is to bread. You press, fold, and rotate the clay against a flat surface to do two things: remove trapped air pockets and align the clay particles for even plasticity. Air pockets are dangerous because they can cause pieces to explode in the kiln. Uneven particle alignment makes the clay fight you on the wheel, with one side stiffer than the other.
Take your 1 to 2 lb ball of clay and wedge your clay thoroughly using either the spiral or ram’s head method. Forty to fifty wedges is plenty for fresh bagged clay. Reclaimed or older clay needs more. Finish by forming a smooth ball or cone with no visible cracks or seams.
Step 2: Attach Clay to the Wheel Head or Bat
Set your wheel to a moderate speed, around 150 rpm. Hold the ball of clay just above the center of the spinning wheel head. Slap it down firmly and decisively. Do not place it gently. A weak slap leaves the clay loose, and the spinning will throw it sideways.
After the slap, the clay needs to be cone-shaped and as close to the dead center as you can manage. Use the heel of your dominant hand to push any wobbling edges inward while the wheel spins. This rough centering is not the real centering yet. It just gets the lump close enough that the next step is possible.
Step 3: Center the Clay
Centering is the single hardest skill in pottery throwing. It is also the foundation of everything that comes after. If your clay is not centered, every subsequent step will magnify the error. The wall will rise unevenly, the rim will wobble, and the piece will eventually pull itself apart. Master centering before you obsess over fancy shapes.
The critical insight: you do not center with hand strength. You center with body weight. Lean over the wheel. Brace your elbows tightly against the inside of your thighs or your hipbones. Lock your forearms in place. The leverage from your seated body weight is far greater than anything your hand muscles can produce. Most beginners try to muscle the clay with their hands and arms, and the clay wins every time.
Use a two-phase approach. First, cone up. Wet your hands lightly. With the wheel spinning at around 200 rpm, place one hand on the side of the clay and the other on top. Squeeze the sides inward and upward simultaneously, pushing the clay into a tall cone. This realigns the clay particles vertically. Then cone down. Press the top of the cone straight down while supporting the sides. The clay flattens back into a centered dome. Repeat coning up and down two or three times. By the end, the dome should spin smoothly with no visible wobble. For a deeper walkthrough of common centering mistakes, see our guide on how to center clay on a pottery wheel.
Step 4: Open the Floor
Once the clay is centered and shaped into a low dome, you open the floor. This creates the inside of your vessel and sets the base thickness. Slow the wheel to around 120 rpm.
Find the center of the spinning dome with both thumbs together at the top. Press straight down with your thumbs, keeping them locked. Stop pressing when you have about 1/4 inch of clay left between your thumbs and the wheel head. To check the thickness, gently push a throwing needle through the bottom until it touches the bat. The mark on the needle tells you the floor thickness. Aim for 1/4 inch, never less than 1/8 inch.
Now widen the opening. Hook your fingers into the hole you just made and pull the clay gently outward toward you. The inside of the vessel grows from a hole into a bowl shape. Compress the floor by running your fingertips across it three times. This compression step prevents S-cracks during drying.
Step 5: Pull Up the Walls
This is where most pieces succeed or die. Pulling walls is the act of stretching the clay upward by sliding your hands from the base of the wall to the top while applying inward pressure. Each pull thins the wall slightly and raises the form a little taller. Most pots need three to five pulls.
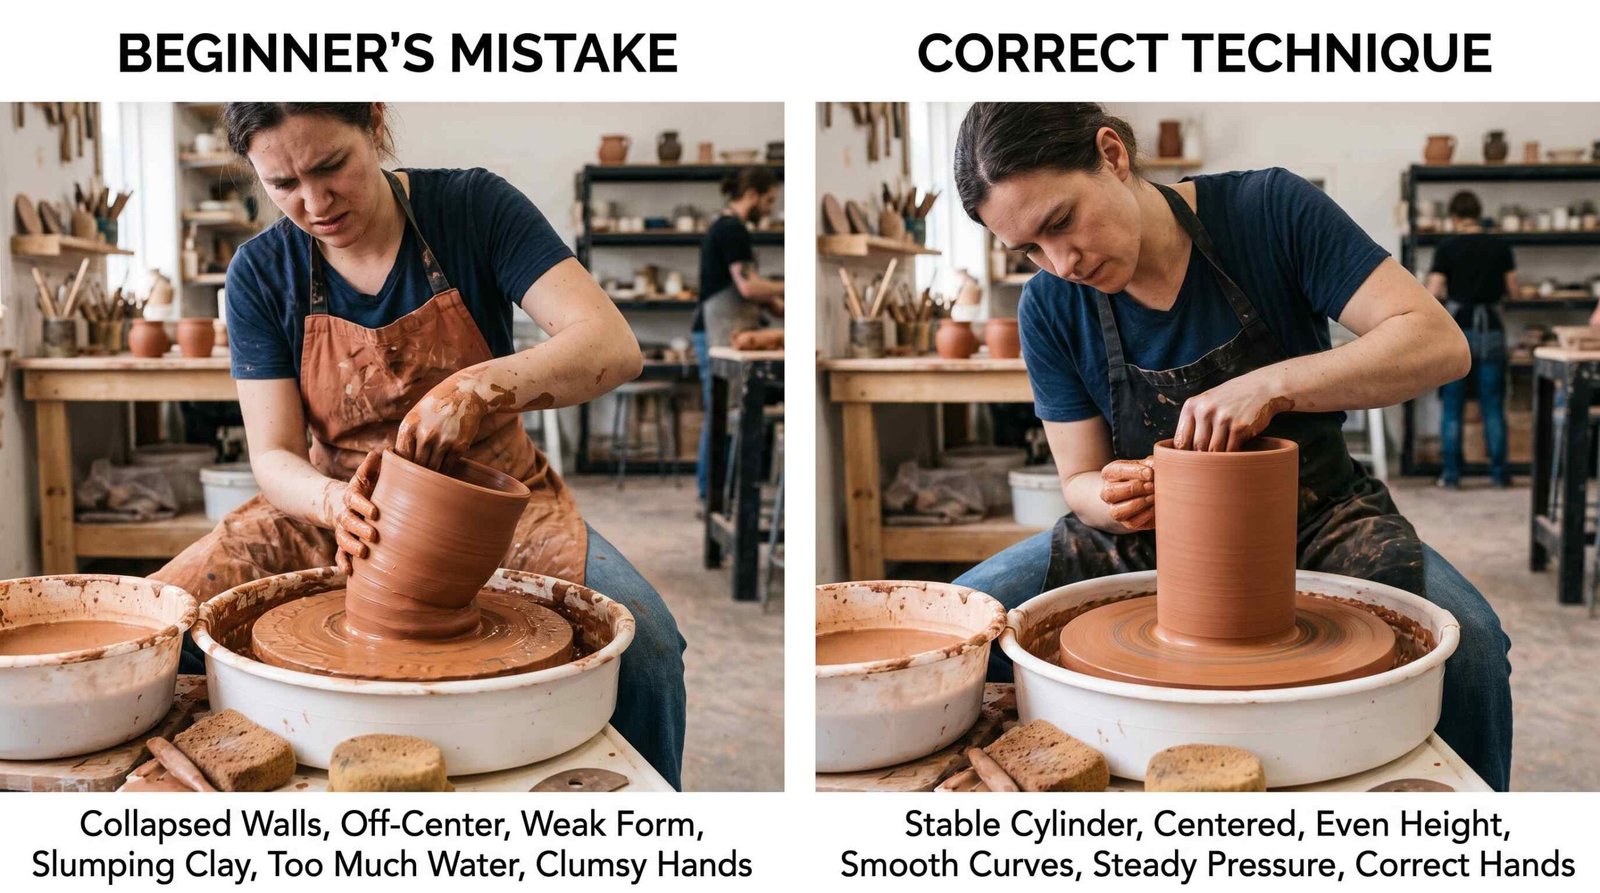
Here is the water management warning that competitors usually skip. Use minimal water. Dip only your fingertips, never your palms, never the sponge in pools of slip. Water is necessary as a lubricant so your fingers slide instead of dragging the clay, but water also dissolves the clay’s structural strength. Wet clay walls collapse. Damp clay walls hold their shape. The chemistry is straightforward: water acts as a deflocculant, separating clay particles from each other and weakening the bonds that give the wall its integrity. The more water you add, the weaker the wall gets.
The practical rule: re-wet your fingertips after every two pulls, no more often. Work quickly. If you take five minutes per pull, you have added too much water by the end. Aim for thirty to sixty seconds per pull.
To pull, set the wheel to a slow speed, around 80 to 100 rpm. Place your outside hand (the one farthest from your body) so the fingertips press inward at the very bottom of the wall. Place your inside hand inside the vessel so the fingertips press outward at the same height. Your fingers should be opposite each other, like a sandwich around the clay wall. Apply firm but gentle pressure. Slowly lift both hands at the same speed, all the way to the rim. The clay rises with your hands.
Always start each pull at the very bottom. Never start halfway up. Skipping the base leaves a thick ring at the bottom that drags down on the wall, causing the upper sections to thin out too much and collapse.
Step 6: Shape Your Piece
Once the walls are tall enough and even, shaping begins. This is the creative part. Apply outward pressure from inside to flare the form into a bowl. Apply inward pressure with the outside hand to collar the form into a vase or bottle. Use a rib to refine the profile. Compress the rim by gently pinching it between your thumb and index finger while the wheel spins.
Take your time. Shaping is where pieces gain their character. A subtle curve in the silhouette is the difference between a generic pot and a piece someone wants to keep.
Step 7: Wire Off, Dry, and Trim
When you are finished shaping, stop the wheel. Hold the wire tool tight between both hands. Place it flat against the wheel head behind the piece. Pull the wire toward you in one smooth motion, slicing the bottom of the piece free from the bat. Lift the piece carefully, supporting it from below.
Let it dry slowly until it reaches the leather-hard stage. Leather-hard clay is firm enough to hold its shape but soft enough to carve. This usually takes 12 to 36 hours depending on humidity and piece thickness. Then flip the piece upside down on the wheel and trim the bottom to refine the foot. See our guide on trimming your pottery for the full technique. After trimming, let the piece dry to bone-dry stage before the first bisque firing.
Beginner Throwing Projects: What to Make First
The temptation as a beginner is to chase ambitious shapes. Resist this. Every form you will ever throw is built from the foundational skills you learn making cylinders and bowls. Mastering one simple shape teaches you more than failing at five complex ones. Here is the progression we suggest for your first hundred hours at the wheel.
| Project | Skill Level | Why to Start Here | Typical Height/Diameter |
|---|---|---|---|
| Cylinder | Beginner | The foundation form every other shape derives from | 4 to 6″ tall |
| Bowl | Beginner | Easier opening, forgiving shape | 4 to 5″ diameter |
| Mug | Intermediate | Combines cylinder plus handle-pulling | 3 to 4″ tall |
| Plate | Advanced-beginner | Requires mastering thin flat bases, prone to warping | 6 to 8″ diameter |
The cylinder is your training ground. A clean cylinder requires every fundamental skill: even centering, controlled opening, smooth pulls, compressed rim. If you can throw twenty cylinders that all look the same, you can throw anything. The bowl rewards you because the opening is wider and forgiving, but it also encourages slumping if walls are not strong. Once you can throw both shapes confidently, try a mug. Mugs add the complexity of handle-pulling and attachment. See our walkthrough on how to make a pottery mug and our guide on how to make a pottery bowl when you get there. Plates wait until last because their wide flat bottoms warp easily during drying and firing.
How Long Does It Take to Learn Pottery Throwing?
This is the question every beginner asks and the question competitors usually dodge. The honest answer depends on how often you practice, but there are reliable milestones. The table below assumes regular practice, which we define as 2 to 3 hours per week.
| Milestone | Time with Regular Practice | What It Feels Like |
|---|---|---|
| Consistently center clay | 4 to 8 hours | The most frustrating stage. You will question whether you have any aptitude for this. |
| Make a recognizable cylinder | 8 to 20 hours | The first “breakthrough” moment. A shape emerges that you actually meant to make. |
| Throw consistently, not accidentally | 40 to 80 hours | When it starts feeling natural. You can sit down and reliably make what you intended. |
If you practice less than 2 hours per week, these timelines stretch significantly. Throwing skill is built on muscle memory and proprioceptive feel, both of which fade between sessions. A potter who practices five hours a week will progress roughly twice as fast as one who practices one hour. If you can manage two studio sessions per week, you will move through the milestones much faster than the table suggests.
The frustrating stage is real and unavoidable. Every potter, including the masters you see online, struggled for their first 10 to 15 hours. Stick with it. The breakthrough is closer than you think.
Troubleshooting Common Throwing Problems
Every issue you encounter at the wheel has a small number of common causes. The table below covers the six problems beginners face most often, the likely cause of each, and the fix that works. Print this and tape it to the side of your wheel.
| Problem | Likely Cause | Fix |
|---|---|---|
| Clay won’t center | Body position too far from wheel, fighting with hands instead of using leverage | Move wheel height, brace elbows on hips, lean in, let body weight do the work |
| Walls collapsing | Too much water weakening clay structure | Use less water, work faster, and finish each pull in under sixty seconds |
| S-cracks in the bottom | Opening the floor without proper compression | Compress the floor with your fingertips three times after opening |
| Uneven wall thickness | Uneven pull speed and pressure between inside and outside hands | Slow the wheel, use the inside hand to lead the pull, match outside pressure |
| Clay climbing sideways instead of up | Not enough inward pressure from outside hand | Maintain a firm collar with the outside fingers throughout each pull |
| Walls too thick | Not pulling from the base on each pull | Always start each pull from the very bottom, no exceptions |
One pattern emerges across all six problems: most beginner issues trace back to two root causes, too much water or wrong body position. Fix those two, and three quarters of your problems disappear.
How to Improve Your Throwing Faster
Practice volume matters, but practice quality matters more. An hour of focused, structured practice teaches you more than three hours of random experimentation. Here are six concrete habits that accelerate progress.
- Throw the same form repeatedly. Pick the cylinder. Throw twenty in one session. Then throw twenty more next session. Repetition reveals subtle technique flaws that single-piece practice hides. By cylinder number fifteen, you will start noticing patterns in your own movements.
- Watch your hands with a phone camera. Set up your phone on a tripod to film your throwing from the side. Watch the footage afterward. You will see things you cannot feel in real time, like dropping your inside hand or releasing pressure at the rim.
- Work with a consistent clay weight. Always use the same weight, say 1.5 lbs, for the first three months. Consistent input produces consistent output, and you learn the muscle feel for that specific volume.
- Keep notes. A small notebook where you jot down what worked and what failed at each session is worth more than any course. Note the clay condition, wheel speed, water habits, and how each piece turned out.
- Take a class. One in-person lesson where a teacher can place their hands over yours and correct your posture is worth twenty hours of solo practice. The Crucible’s wheel throwing guide is excellent online resource, but classes from local studios or community colleges accelerate learning dramatically.
- Read and watch the broader pottery community. Magazines like Ceramics Monthly showcase contemporary potters and techniques, and seeing diverse styles expands your sense of what is possible at the wheel.
If you are still using a wheel from a friend or a battered studio rental and finding it inconsistent, the equipment can hold you back. A reliable wheel with smooth speed control makes practice noticeably easier. Our pottery wheel buying guide compares the best beginner pottery wheel options at every price point.
Frequently Asked Questions
Q: Is pottery throwing hard to learn?
Pottery throwing is challenging in the first 10 to 15 hours and gets noticeably easier after that. The hardest skill is centering, which most beginners take 4 to 8 hours to master. Once centering becomes second nature, the rest of the process becomes much more enjoyable. It is not a question of natural talent. Almost anyone with patience and consistent practice can learn to throw recognizable pots within their first month.
Q: What is the best clay for throwing on a pottery wheel?
Smooth stoneware is the best clay for beginners learning to throw. It has high plasticity, minimal grog (the gritty material that tears fingertips), and forgives mistakes better than porcelain. Look for clay bodies labeled as “throwing clay” or “smooth stoneware.” Earthenware is also a good option, especially for low-fire setups. We suggest avoiding porcelain until you can consistently throw cylinders, because porcelain slumps easily and demands precise water control.
Q: Can I throw pottery at home without a kiln?
You can throw and shape pottery at home without owning a kiln, but you cannot fire the finished pieces without access to one. Most home potters use air-dry clay for practice or take their bisque-ware to a community studio, makerspace, or local potter who rents kiln time. Some communities offer firing services where you drop off your bone-dry pieces and pick them up after firing. Air-dry clay is useful for practicing wheel technique without firing concerns, though it cannot produce functional dinnerware.
Q: How much clay do beginners use per session?
Beginners typically use 1 to 2 lbs of clay per piece and throw 4 to 8 pieces per 2-hour session, so a session uses 5 to 15 lbs of clay total. Buy a 25 lb bag of throwing clay to start. Reuse any clay that does not work out by re-wedging it. Failed pots can be collapsed back into a ball, re-wedged, and thrown again. Almost nothing gets wasted in pottery because wet or leather-hard clay is always recoverable.
Q: What’s the difference between pottery throwing and hand building?
Pottery throwing uses a spinning wheel to shape clay through centrifugal forces and hand pressure, producing symmetrical round forms. Hand building uses pinching, coiling, or slab construction to build forms by hand without a wheel, producing pieces that can be any shape including asymmetric and sculptural. Wheel throwing is faster for producing matching sets and round vessels. Hand building is better for sculpture, tiles, and complex non-circular forms. Many potters use both techniques and combine them in single pieces.
Q: Do I need to take a class to learn wheel throwing?
You do not need a class to learn wheel throwing, but a single in-person lesson saves you many hours of solo struggle. A teacher can place their hands over yours and physically correct your posture, water habits, and pulling technique in ways that video tutorials cannot match. If a class is not accessible, online video courses combined with self-recorded practice footage are the next best option. The goal is to get external feedback on your technique as early as possible, because bad habits set fast.