
Slab Pottery: The Complete Beginner’s Guide to Technique, Troubleshooting, and Projects
Slab pottery is a hand-building technique where you roll clay into flat, even sheets (called slabs) and then cut, join, and shape them into functional or sculptural forms. It’s one of the three core hand-building methods alongside coil and pinch, and it’s especially good for geometric pieces like boxes, tiles, vases, and angular vessels.
What Is Slab Pottery?
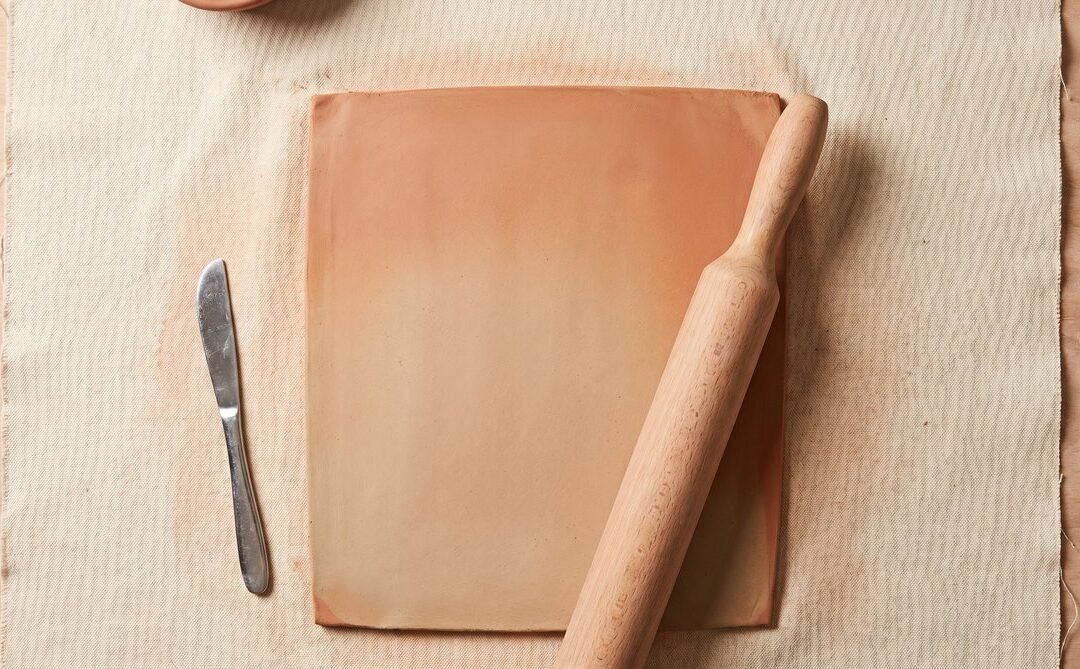
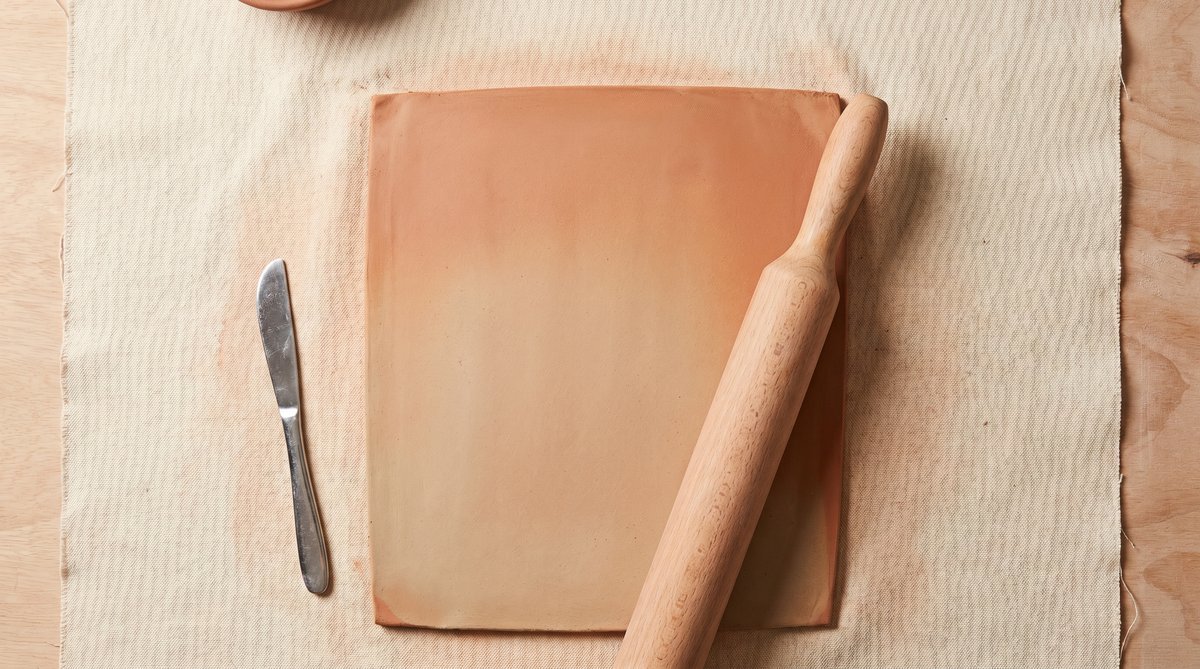
Slab pottery is the art of building with flat sheets of clay. You roll clay out to a consistent thickness, cut it to shape, and then assemble those flat pieces into three-dimensional forms. Think of it like working with sheets of leather or fabric, except the material is plastic clay that holds whatever shape you give it.
The technique dates back thousands of years. Ancient potters in Japan, China, and the Americas used slab construction for everything from cooking vessels to ceremonial sculpture. Today, slab building remains one of the most accessible entry points into ceramics because it requires no wheel and very few specialized tools. A rolling pin, a flat surface, and a block of clay are enough to get started.
What makes slab work distinctive is its versatility. With a wheel, you’re limited to round, symmetrical forms. With slabs, you can build anything: square planters, slab-built mugs with intentional angles, sculptural wall pieces, lidded boxes, or even architectural tiles. The flat starting point becomes whatever your design demands, which is why so many contemporary ceramicists choose slab construction for production work and one-off art pieces alike.
The method is also forgiving in ways the wheel is not. You can pause mid-build, come back the next day, and pick up where you left off. You can correct mistakes by cutting and re-joining. And because the slab is already a uniform thickness, your walls stay consistent, which means more predictable drying and firing.
Soft Slab vs. Hard Slab: Choosing Your Method
Here’s the distinction most beginner guides skip, and it’s the single most important decision you’ll make on any slab project. Are you working with soft slab or hard slab? The state of your clay changes everything about how you build.
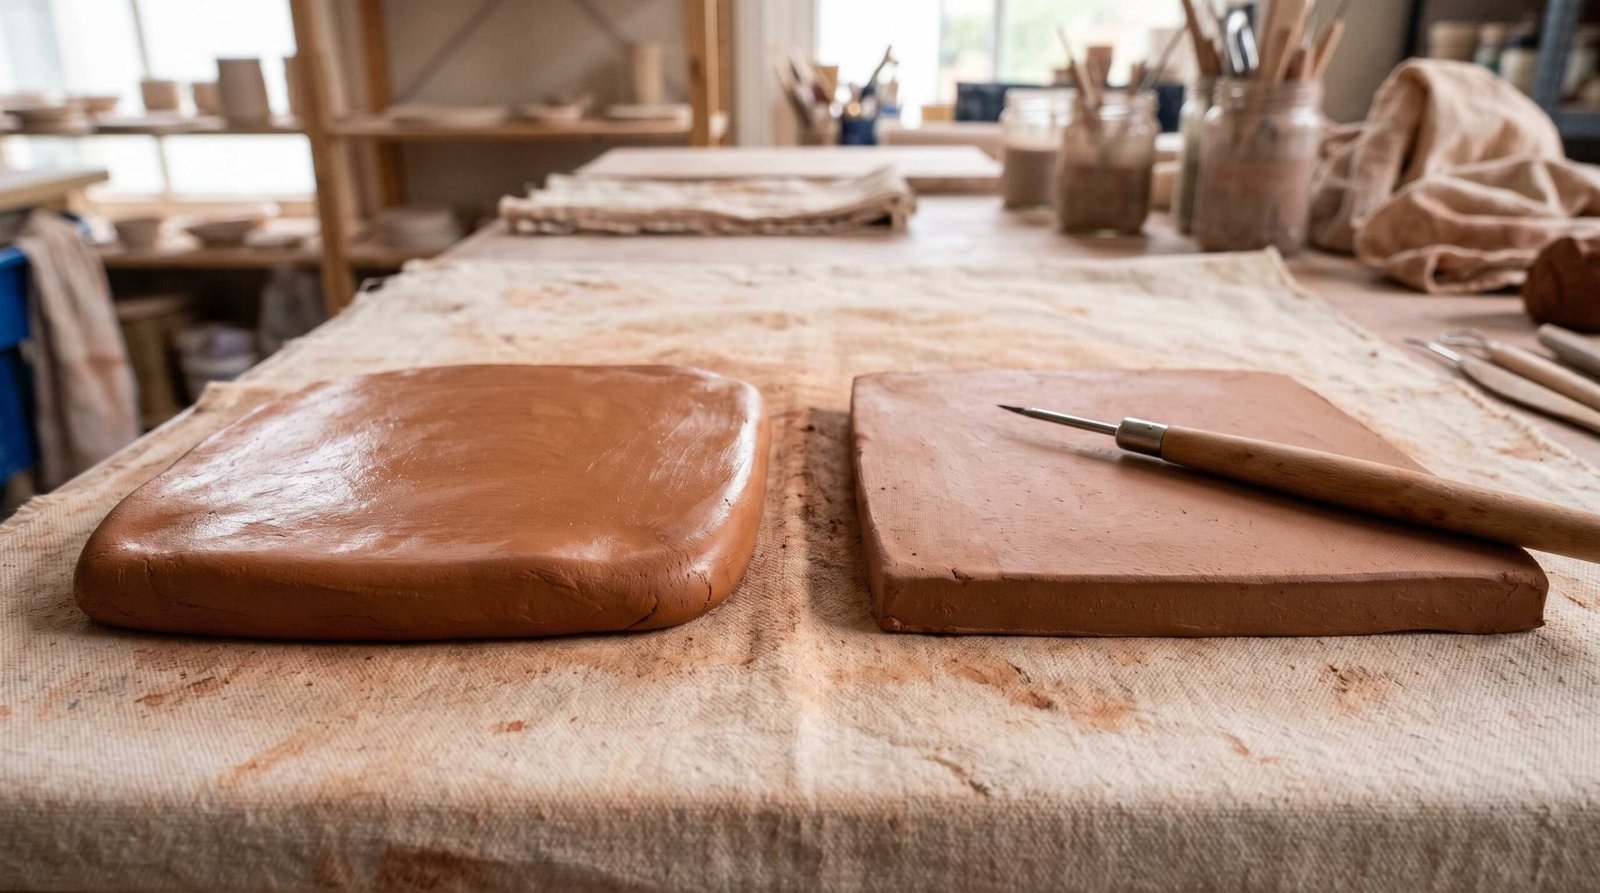
Soft slab (also called fresh slab) refers to clay that’s been rolled out and used immediately while still pliable and damp. It bends easily, drapes over molds, and follows curves naturally. This is what you want for organic, flowing forms: rounded vases, curved bowls, soft-edged platters, or anything that needs to wrap around itself. The downside is that soft slab will sag, deform, or collapse under its own weight if you don’t support it during drying. You’ll often build soft slab pieces inside or over a form (a bowl, a balloon, a wad of newspaper) and let the clay firm up before removing the support.
Hard slab (also called leather-hard slab) refers to clay that’s been rolled out and then left to firm up to a leather-hard state before assembly. The surface is dry to the touch, but the clay still holds moisture inside. It cuts cleanly with a knife, holds sharp edges, and stands up on its own. This is what you want for geometric construction: boxes, square planters, tiled wall pieces, lidded vessels, or anything with flat, vertical walls. Joins are more reliable because the clay doesn’t deform when you press pieces together.
| Factor | Soft Slab | Hard Slab |
|---|---|---|
| Best for | Curved vases, draped bowls, organic forms | Boxes, tiles, geometric vessels, vertical walls |
| Joining | Easier to blend, but joints can deform | Cleaner edges, sharper corners, more stable |
| Drying time needed before assembly | None or minimal (use right away) | 30 minutes to a few hours, depending on humidity |
| Beginner difficulty | Medium (clay wants to slump) | Easier (more predictable assembly) |
If you’re new to slab work, we suggest starting with hard slab construction on a simple geometric project. The leather-hard state is more forgiving, your joins will be stronger, and you’ll build confidence faster.
What You Need: Slab Pottery Tools
You can start slab pottery with almost no equipment. Here’s the practical list of beginner tools that actually matter:
- Rolling pin or slab roller: A standard wooden rolling pin works fine for small pieces; a slab roller (a tabletop machine) saves time and produces more consistent thickness for larger work.
- Canvas or cloth work surface: A piece of canvas or thick cotton cloth prevents the clay from sticking to your table and gives the surface a subtle texture you can build into your design.
- Clay: A medium-grog stoneware or earthenware is ideal for slab work; choosing the right clay matters because high-grog bodies resist warping better than smooth porcelains.
- Scoring tool (needle tool, fork, or serrated rib): Used to roughen the edges where two pieces will join; a kitchen fork works surprisingly well.
- Slip: A creamy mixture of clay and water that acts as glue between scored surfaces; you can make your own from clay scraps.
- Fettling knife or needle tool: For trimming edges, cutting shapes from the slab, and cleaning up seams.
- Wooden ribs or smoothing tools: For compressing, smoothing, and shaping the clay surface; a credit card works in a pinch.
- Thickness guides: Two strips of wood (typically 6mm or 1/4 inch thick) placed on either side of the clay so the rolling pin rolls at consistent depth.
- Kiln access (or air-dry clay option): Most slab work needs to be bisque-fired and glaze-fired; if you don’t have kiln access, air-dry clays let you practice the techniques without firing, though the result won’t be food-safe or waterproof.
How to Make Slab Pottery: Step-by-Step Guide
Here’s the full sequence from raw clay to finished piece. Read all the way through before you start so you understand how the steps connect.
- Wedge your clay. Before you do anything else, wedge your clay for at least three to five minutes. Wedging removes air bubbles and aligns the clay particles, both of which reduce cracking later. Skip this step and you’ll regret it when your slab develops bubbles or warps unpredictably.
- Roll or cut your slab. Place your wedged clay between two thickness guides on canvas. For most projects, roll to 6 to 8 millimeters (roughly 1/4 to 5/16 inch). For larger structural pieces or floor tiles, go to 10 millimeters or more. Rotate the clay 90 degrees between every few passes so it stays even. The Ceramic Arts Network (ceramicartsnetwork.org) has detailed thickness guidance for specific project types if you want to go deeper.
- Let it firm slightly (if using hard slab method). If you’re building anything with vertical walls or geometric edges, let your slab sit for 30 minutes to a few hours until it reaches leather-hard state. The exact time depends on your room’s humidity. The clay should feel cool and slightly stiff but still cut cleanly without crumbling. For soft slab construction, skip this step and proceed directly to cutting and shaping.
- Score and slip the joining surfaces. Wherever two pieces of clay will meet, scratch both surfaces with a needle tool or fork in a crosshatch pattern. Then apply slip generously to both scored areas. This step is non-negotiable and we’ll explain why in the next section.
- Join and seal. Press the two scored, slipped surfaces firmly together. You should feel them grab. On the interior of any join, take a small coil of soft clay and blend it across the seam using your finger or a wooden tool. This interior weld is what gives your join its real strength. Don’t skip it just because the outside looks clean.
- Shape and support. If you’re working with soft slab and creating curved forms, use newspaper wads, foam blocks, or balloons to hold the clay in shape while it dries. For boxes and rigid forms, your structure should be self-supporting; if it isn’t, your walls are too tall or your slab is too thin.
- Add texture or decoration before leather-hard stage. Stamps, fabric impressions, carving, sgraffito, slip trailing: all of these work best when the clay is still soft to leather-hard. Once the surface fully dries, it won’t take detail. Plan your decoration before you assemble if it requires access to a flat surface.
- Dry slowly and evenly. Cover your piece loosely with plastic for the first day or two so all parts dry at the same rate. Slab pieces crack most often because thin walls dry faster than thick joins, and the resulting tension splits the seam. A slow, controlled dry is the difference between a finished piece and a heartbreak in the kiln.
- Bisque fire. Once the piece is bone dry (no cool spots when held to your cheek), it goes into a bisque firing, typically to Cone 06-04 (around 1830 to 1940 degrees Fahrenheit). This hardens the clay enough to handle and glaze without dissolving.
- Glaze and final fire. Apply your glaze of choice and fire to the temperature your clay requires (Cone 6 for most mid-range stoneware, Cone 10 for high-fire work, Cone 06 for low-fire earthenware). Match your glaze and clay firing temperatures or your piece will under-mature or over-fire. The clay science database at digitalfire.com is the authoritative source if you want to understand firing chemistry in depth.
Scoring and Slipping: Why It Makes or Breaks Your Piece
If your slab pieces keep falling apart at the seams during drying or firing, the cause is almost always poor scoring and slipping. This is the single most important technique in hand-building, and it deserves its own section.
Here’s what’s happening at the molecular level. When clay is wet, the platelets that make up its structure slide past each other freely; this is what makes it plastic. When clay surfaces dry to leather-hard, the surface platelets lock into place and won’t bond on contact with another piece of leather-hard clay. You’re essentially trying to glue two dry walls together.
Scoring solves the mechanical problem by creating a rough surface that interlocks with the matching scored surface, almost like Velcro. Slip solves the chemical problem by providing wet clay particles that flow into the scored grooves and rebuild a continuous bond as the moisture migrates back into both sides. Without both steps, you’re left with a join that looks fine but cracks at the seam during the first slow stress event, which is usually drying.
A practical tip on slip consistency: your slip should be roughly the texture of yogurt or thick cream, not water. If it’s too thin, it won’t fill the scored grooves; if it’s too thick, it won’t penetrate. Many potters keep a small container of slip made from scraps of the same clay body they’re working with, which ensures the slip shrinks at the same rate as the parent clay during drying and firing.
Slab Pottery Troubleshooting
Every slab potter runs into these problems. Here’s how to diagnose and fix the most common ones.
| Problem | Most Likely Cause | Fix |
|---|---|---|
| Cracks along joins | Insufficient scoring/slipping, or one piece was much drier than the other | Score deeper, use more slip, and always join pieces at similar moisture levels; add an interior weld coil |
| Warping during drying | Uneven drying (one side covered, one exposed) or slab not compressed enough | Cover loosely with plastic; flip flat pieces every few hours; compress the surface with a rib before assembly |
| Slabs cracking in firing | Trapped air, uneven thickness, or moisture still in the clay | Wedge thoroughly, maintain even thickness, and confirm the piece is bone dry before firing; pierce hollow forms to release air |
| Joins pulling apart | Different drying rates between thin walls and thick joins | Build joins from clay at similar moisture; cover the seams with damp paper towels while the rest dries |
| Uneven thickness across the slab | Inconsistent rolling pressure or no thickness guides used | Use thickness sticks on either side of the clay; rotate the clay 90 degrees between rolling passes |
| Fingerprints and surface marks | Handling soft clay too much before final smoothing | Work the surface with a wooden rib at leather-hard stage; minimize handling once the surface is finished |
Slab Pottery Projects: From Beginner to Advanced
The best way to build slab skills is to make real projects, starting simple and adding complexity. Here are ten projects organized by difficulty, with realistic time estimates from raw clay to finished green ware (before firing).
| Project | Difficulty | Key Technique | Approx Time |
|---|---|---|---|
| Simple tile or coaster | Beginner | Flat slab with stamped or carved texture | 30-45 minutes |
| Soap dish | Beginner | Flat slab with raised edges, drainage holes | 45-60 minutes |
| Flat slab bowl (draped) | Beginner | Soft slab draped over a bowl mold | 60-90 minutes |
| Pinch and slab mug | Beginner-Intermediate | Slab wrapped into cylinder, pinch-pot base joined | 1.5-2 hours |
| Cylinder slab mug with handle | Intermediate | Hard slab cylinder, scored handle attachment | 2-3 hours |
| Square or rectangular vase | Intermediate | Four hard slab walls with mitered corners | 2-3 hours |
| Textured wall art panel | Intermediate | Soft slab with deep impressions, dried flat | 2-4 hours |
| Lidded box | Intermediate-Advanced | Hard slab construction with matching lid, gallery edge | 4-6 hours over two sessions |
| Geometric candle holder | Intermediate-Advanced | Multiple cut shapes joined into faceted form | 3-5 hours |
| Sculptural face vessel | Advanced | Combined soft and hard slab, added clay features | 6-10 hours over multiple sessions |
If you’re brand new, start with the tile or soap dish. Both teach you slab rolling, scoring, and surface decoration without the complexity of joining vertical walls. Once you’ve made one of each, the cylinder mug is the natural next step because it introduces the wrap-and-join technique that underlies most slab vessels.
Slab vs. Coil vs. Pinch: Which Hand-Building Method Is Right for You?
Slab is one of three classic hand-building methods, and each suits different projects. Here’s how they compare directly:
| Factor | Slab | Coil | Pinch |
|---|---|---|---|
| Best for | Geometric forms, tiles, boxes, angular vessels | Tall, rounded forms; large vessels; sculptural curves | Small, organic forms; bowls; quick studies |
| Skill level to start | Beginner-friendly with hard slab | Beginner-friendly; very forgiving | Easiest entry; no tools required |
| Wall strength | High when properly joined | Very high; coils can be built up indefinitely | Medium; depends on even compression |
| Time per piece | Medium to long (depends on size) | Long (slow, additive process) | Short for small pieces |
| Wall consistency | Excellent (uniform slab thickness) | Variable (depends on smoothing) | Variable (depends on pinch skill) |
Most hand-builders learn all three eventually, and the techniques combine well. A common approach is to start a vessel with a pinch pot base, build the walls with slabs, and finish the rim with a coil. If you want to compare further, our deeper guides on coil pottery and pinch pottery walk through each method in detail.
Tips for Better Slab Work
These are the specific habits that separate decent slab work from clean, professional-looking results:
- Rotate your clay 90 degrees between every two rolling passes. This keeps the slab even and prevents the clay from getting stretched in one direction, which causes warping during drying.
- Apply texture when the slab is still soft, not leather-hard. Leather-hard clay resists impressions and stamps look shallow and incomplete. Plan your surface decoration into your build sequence.
- Compress the slab with a wooden rib after rolling. Run a rib firmly across the surface to align the clay particles. This single step dramatically reduces cracking and warping later.
- Use a clean cut, then trim again. When cutting shapes from your slab, make a clean cut with a needle tool or fettling knife, then come back after the clay has firmed slightly and trim the edges true. Trying to cut a precise shape from soft slab often leaves rough, dragged edges.
- Always score deeper than you think you need to. Light scratches don’t grab. You want visible, crosshatched grooves at least a millimeter deep on both surfaces being joined.
- Keep an interior weld on every structural join. Even if the exterior of your join looks invisible, run a small coil of soft clay along the inside seam and blend it into both walls. This is what holds the piece together during drying and firing.
- Match the moisture of your pieces before joining. Joining a fresh slab to a leather-hard slab is a recipe for cracks because the two will shrink at different rates. If you need to combine different elements, mist the drier one with water and wrap it in plastic for an hour to equalize.
Frequently Asked Questions
What clay is best for slab pottery?
Medium-grog stoneware is the most reliable choice for beginners because the grog (small particles of pre-fired clay) reduces shrinkage and warping. Earthenware works well for lower-fire projects and tile work. Smooth porcelain is technically possible but unforgiving for slab construction because it warps easily and joins are more prone to cracking. If you’re just starting out, ask your supplier for a “hand-building” or “sculpture” body and you’ll get something appropriate.
Can you do slab pottery without a kiln?
Yes, using air-dry clay or polymer clay. Air-dry clays let you practice every slab technique (rolling, scoring, slipping, joining, decorating) without firing. The finished pieces won’t be food-safe or fully waterproof, but they’re perfectly suitable for decorative work, sculpture, and learning. If you eventually want functional, durable pottery, you’ll need access to a kiln through a community studio, school, or shared makerspace.
How thick should a pottery slab be?
For most functional projects (mugs, bowls, vases, boxes), 6 to 8 millimeters (roughly 1/4 inch) is the standard. For tiles or floor pieces, go to 10 to 12 millimeters for strength. For very small or delicate work like jewelry pendants, you can go as thin as 4 to 5 millimeters, but anything thinner is fragile and prone to warping. Use thickness guides on either side of the clay to keep the slab even.
Why does my slab pottery crack?
Most slab cracks come from one of three causes: uneven drying (covered and uncovered areas drying at different speeds), poor scoring and slipping on joins, or trapped air in the clay from inadequate wedging. The fix is to dry slowly under loose plastic, always score and slip generously with an interior weld, and wedge your clay thoroughly before rolling. Cracks that show up only in firing usually mean the piece wasn’t fully bone dry when it went into the kiln.
What is the difference between slab pottery and coil pottery?
Slab pottery builds with flat sheets of clay assembled like panels, while coil pottery builds with long ropes of clay stacked and smoothed together. Slab work is better for geometric, angular forms (boxes, tiles, square vases) and produces more consistent wall thickness. Coil work is better for tall, rounded forms (large vessels, organic shapes) and allows for more sculptural curvature. Many potters combine both methods in a single piece.
Can beginners do slab building?
Absolutely. Slab building is often the first hand-building method taught in pottery classes because it requires no wheel, very few tools, and produces a finished piece in a single session. Start with a simple tile or soap dish to learn rolling, scoring, and slipping. Move on to a draped bowl or slab mug once you’re comfortable. Within three or four projects, you’ll have the core skills to attempt almost anything in the project list above.