
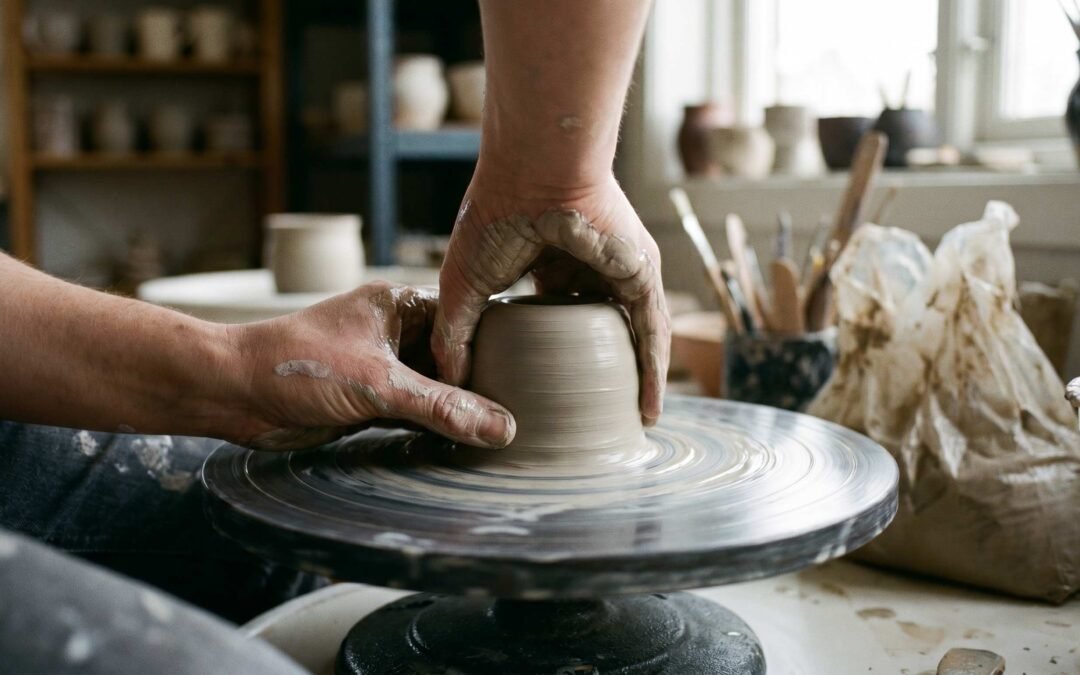
How to Center Clay on a Pottery Wheel: A Beginner’s Step-by-Step Guide
Centering clay is the most frustrating part of learning to throw, and almost every beginner spends weeks convinced they’re the only one struggling with it. The good news: centering clicks once you understand what the clay is actually doing on the wheel and why your body, not your arms, has to do the work. This guide covers both main centering methods, the body mechanics competitors skip, and the specific fixes for the mistakes that keep beginners stuck.
By the end, you’ll know how to attach the clay properly, brace your body so your hands have something to push against, and tell when the lump is actually centered versus when it just looks close.
How do you center clay on a pottery wheel? Slap a wedged ball of clay onto the center of the wheel head, wet your hands, and run the wheel at medium-high speed. Clasp both hands around the clay with elbows locked against your thighs, squeezing inward and upward to form a cone. Press the cone down with one hand while the other stabilizes the side. Repeat three to five times until the clay spins without wobble.
Why Centering Matters
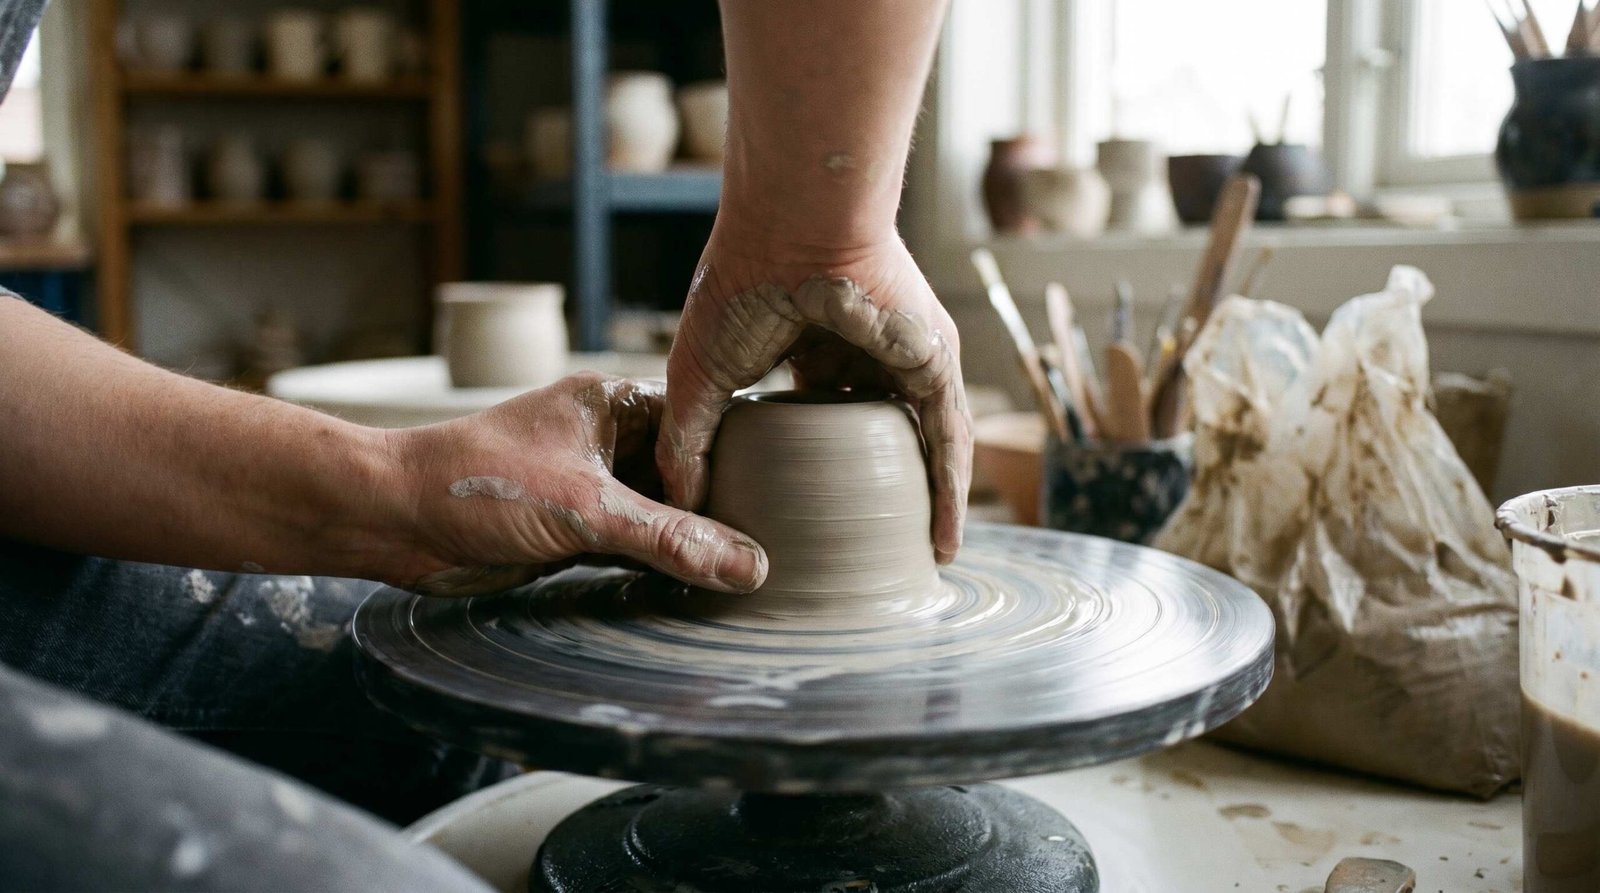
Centered clay is clay that spins concentrically around the vertical axis of the wheel head, with no visible wobble and no lateral motion under your hands. Picture a perfectly balanced top: the surface looks still even though it’s spinning fast. That’s centered.
If the clay isn’t centered before you open it, every problem downstream gets worse. The walls will be uneven thickness, one side thicker than the other. The rim will dip and rise like a wave. Pulling up walls becomes a guessing game because your fingers compress thin spots and miss thick ones. A wobbly start guarantees a wobbly finish, and most beginner bowls that collapse mid-throw were never centered to begin with.
Here’s the nuance: centering isn’t just about getting the clay to sit in the middle of the wheel head. A lump can look visually centered and still wobble, because centering is about eliminating motion in the spinning clay, not about static position. Your eyes lie. Your hands tell the truth. Once the clay spins inside your braced hands without pushing them around, you’re done. Not before.
Understanding What the Clay Is Doing
Clay on a spinning wheel wants to fly outward. Centrifugal force pulls every particle of clay away from the axis of rotation, which is why a soft, uncontained lump will spread into a flat disc within seconds if you let go. Your job during centering is to redirect that outward energy back inward and upward, compressing the clay into a tight, dense column that spins as a single piece.
This is where almost every beginner goes wrong. They try to muscle the clay using arm strength, gripping harder when the clay pushes back, and their hands shake and slip because no human forearm can out-squeeze the centrifugal pull on even a small lump. The clay wins every time.
The fix is body weight. Lock your elbows against your thighs or against the rim of the splash pan, lean forward from the hips, and let your skeleton transfer the load of your upper body into your hands. Your arms become rigid struts, not active muscles. The clay pushes against a wall of body weight instead of two springy arms, and it has nowhere to go but inward. This is the technique insight most online tutorials skip entirely, and it’s the single biggest reason beginners plateau. Centering is a body weight skill, not a grip strength skill. Strong hands help, but bracing matters ten times more.
Before You Start: Clay Prep and Consistency
You cannot center clay that isn’t properly prepared. Wedging, which is the kneading-style technique that aligns the clay particles and removes air bubbles, is non-negotiable. An air pocket inside the clay creates a soft spot that distorts under pressure, and the lump will pulse against your hands every rotation. If you’ve never done it, our guide on how to wedge clay walks through the ram’s head and spiral methods step by step.
Consistency matters just as much. Clay that’s too stiff resists every push, and your hands will exhaust before the lump moves. Clay that’s too soft collapses and smears outward, sticking to your hands and refusing to hold a cone. The sweet spot is firm enough to hold its shape when you press a thumb into it but soft enough that the thumb sinks in steadily, not in jerks. If you’re buying clay, our breakdown of the best pottery clay for beginners covers which bodies are most forgiving on the wheel.
Start small. A 500 gram to 1 kilogram ball is the right size for learning. Bigger lumps require more body weight than a beginner can muster, and you’ll fight the clay instead of learning the motion. A pound and a half of clay is enough to throw a small bowl or cup, which is plenty for practice.
Attaching the clay to the wheel head matters. Stop the wheel, then slap the wedged ball down hard onto the center of the bat or wheel head. Aim, then commit. A weak placement leaves the lump loose and it will slide as you start. Once it’s stuck, start the wheel at low speed and pat the rotating clay with your palms to rough-center it, pushing toward the middle until the lump is roughly symmetrical before you start the real centering process.
Body position before you touch the clay: sit close enough that the wheel head is between your thighs or right at the edge of them. Your elbows should easily reach your thighs when your hands are over the wheel. Lean forward from the hips, not the lower back. If you’re hunched and your elbows are floating in the air, stop and reset. A proper pottery wheel for beginners will have a splash pan and seat height that supports this posture, but even on a cheap wheel you can stack a cushion or lower your stool to get into position.
Method 1: The Two-Hand Cone Method
This is the method most professional potters use, because coning up and pushing down twice or three times realigns the clay particles vertically and produces the densest, most centered lump. It takes more coordination than the side-push method, but it’s worth learning first.
- Wet your hands and the clay. Dip both hands into your water bucket, then drizzle water over the clay. If you don’t have one yet, our guide on pottery tools for beginners covers the basic kit, water bucket included. Wet clay is slippery clay, and dry hands grab and tear. Re-wet every 20 to 30 seconds.
- Set wheel speed to medium-high. About three-quarters of maximum on a standard wheel. Too slow and the centrifugal force isn’t strong enough to help redirect the clay; too fast and a small wobble becomes a violent shake.
- Clasp both hands around the base of the clay. Thumbs on top, fingers wrapped around the lump. Lock your elbows against your thighs and lean in. Squeeze inward and slightly upward, and the clay will rise into a tall cone or cylinder. Don’t yank; press steadily.
- Push the cone down. Once the clay has risen to a tall cone (about double its starting height), place the heel of one hand on top and the other hand on the side as a stabilizer. Press straight down with the top hand while the side hand keeps the clay from mushrooming outward. The lump will compress back into a low, dense puck.
- Repeat the cone-up and push-down sequence three to five times. Each pass tightens the clay and realigns the particles. By the third pass, the wobble should be gone or nearly gone.
- Check for wobble. Slowly lift your hands away while the wheel keeps spinning. Centered clay will appear visually still. If you see a wobble or a lump on one side, your hands go back on and you do another pass.
The slow hand removal in step 6 is critical. Yanking your hands off the clay creates micro-wobbles that ruin the centering you just did. Ease off pressure gradually, lift straight up, and check.
Method 2: The One-Hand (Side Push) Method
This method is easier to learn because it requires less coordination, and it’s the one many beginner-focused instructors teach first. It works for clay amounts up to about 1 kilogram. For larger lumps, the cone method is more efficient.
- Wet hands and clay. Same as before.
- Run the wheel at medium-high speed.
- Place your dominant hand on the side of the clay at the base. Use the heel of your palm, not the fingers. The heel has more surface area and more controlled pressure. Lock your elbow against your thigh and lean in.
- Place your non-dominant hand lightly on top. The top hand provides resistance and keeps the clay from mushrooming upward as the side hand pushes inward. It also stops the clay from tipping over.
- Push inward steadily. The side hand does the work, pressing the clay toward the center axis. Keep the top hand gently engaged. The clay should compress sideways and feel like it’s settling into the wheel head rather than fighting back.
- Hold steady, then check. Once the clay stops pushing against your hands, slowly remove them and watch the spin. Repeat if it wobbles.
The advantage of this method is that you only have to coordinate one main pressure point. The disadvantage is that you don’t get the particle realignment benefit of coning, so the resulting clay is slightly less dense and slightly harder to pull tall walls from. For beginner-sized bowls, mugs, and cups, that’s fine.
Comparison Table: Two-Hand Cone vs. One-Hand Side Push
| Feature | Two-Hand Cone Method | One-Hand Side-Push Method |
|---|---|---|
| Best for | Anyone planning to throw taller forms or work with larger clay amounts | Absolute beginners learning the feel of centered clay |
| Difficulty | Moderate; requires two-hand coordination and timing | Lower; one primary pressure point to manage |
| Clay amount | 500g to 5kg and beyond | Best under 1kg |
| Body position | Both elbows locked to thighs, full forward lean, hands clasped | Dominant elbow locked, non-dominant hand light on top |
| Common errors | Volcano peak when pushing down too fast; clay tipping during cone-up | Pushing with fingers instead of heel; collapsing the top with too much downward pressure |
| When to switch | Stay with this once it clicks; it scales to any clay amount | Switch to cone method once you can center reliably and want to throw taller pieces |
Common Centering Mistakes and How to Fix Them
These are the specific errors I see beginners make over and over, and the exact fix for each.
- Using arm strength instead of body weight. If your forearms burn after one minute on the wheel, you’re muscling the clay. Fix: lock your elbows against your thighs or the splash pan rim, lean in from the hips, and let your skeleton hold the position. Your arms should feel like rigid sticks, not flexed muscles.
- Running the wheel too slow. Slow wheel speeds make centering harder, not easier, because there isn’t enough centrifugal force to help push the clay back to center under your hands. Fix: medium-high speed, about three-quarters of maximum. The clay should feel like it wants to spin under your hands, not crawl.
- Hands and clay not wet enough. Dry contact causes your hands to grab the clay and pull it out of round. Fix: re-wet every 20 to 30 seconds. The clay surface should look glossy. If you hear a dry squeak under your hands, stop and add water.
- The volcano error. The clay rises into a tall point that suddenly tips sideways. This happens when you cone up too aggressively without supporting the sides, or when you push down on a too-tall cone without a side-hand brace. Fix: keep your side hand engaged throughout the cone-up motion, and don’t let the cone get taller than about twice the starting clay height before pushing it down.
- Using palms or fingers instead of the heel of the hand. Fingertips have almost no control surface and palms are too soft to transfer force precisely. Fix: use the heel of your hand (the firm pad at the base of your palm). It’s the strongest, most controllable part of your hand for centering.
- Lifting hands too quickly. A sudden release at the end of centering can knock the clay out of true. Fix: ease off pressure gradually, then lift straight up. If you yank, you’ll see a wobble appear instantly.
How to Tell If Your Clay Is Centered
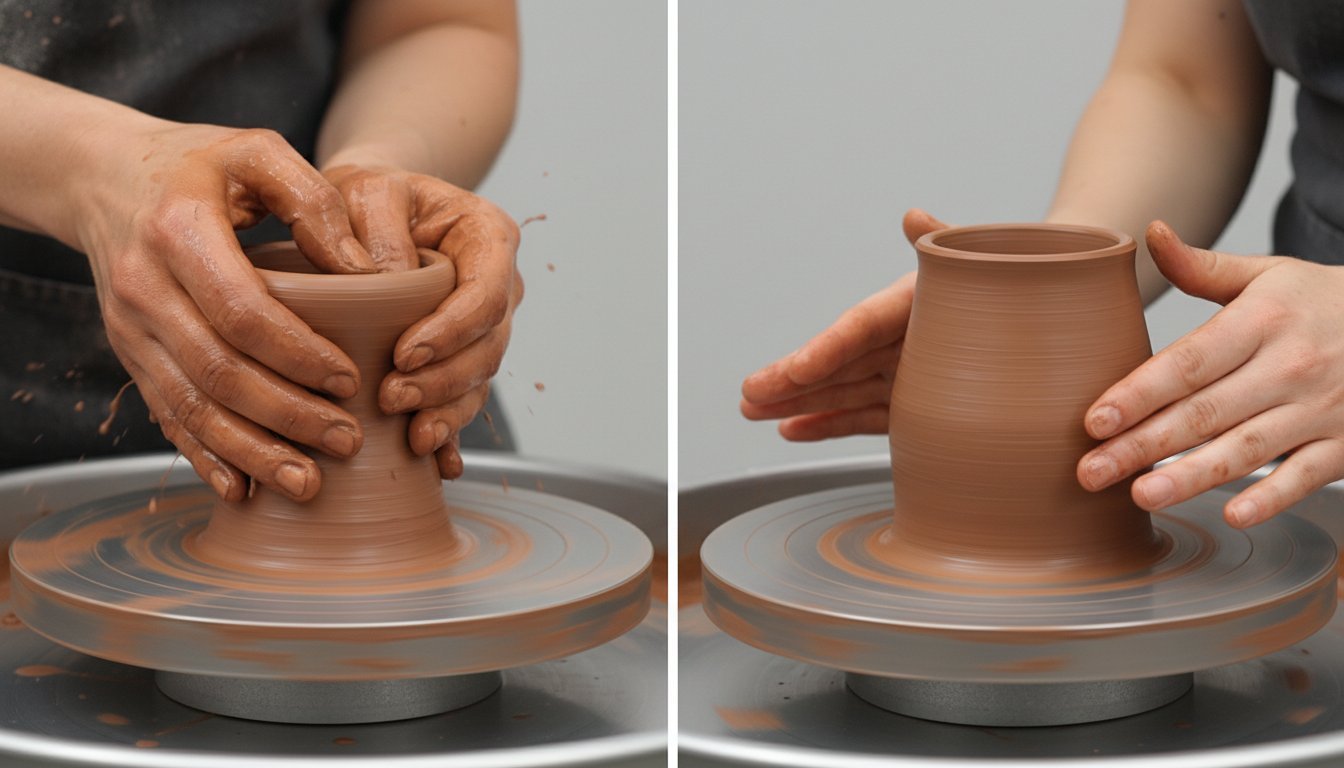
There are three reliable tests, and you should use all of them until centering becomes intuitive.
The wobble test. With the wheel still spinning, slowly lift your hands away. Centered clay barely moves. The profile looks like a still photograph even though the wheel is turning at full speed. If you see any side-to-side motion, even a small one, it’s not centered.
The fingertip test. With the wheel spinning, gently rest a single fingertip on the side of the clay. Your finger should trail smoothly along the surface, no bumps, no jolts. If you feel a bump once per rotation, that’s the high spot of an off-center lump rolling past. Get back on the clay and even it out.
The visual check. Look at the clay from eye level, not from above. Even a small wobble will show as a fuzzy or doubled outline at the edge of the spinning clay. Truly centered clay has a crisp, sharp profile.
Once you pass all three tests, you’re ready to open the clay and start pulling walls. If you’re moving into your first form, our walkthrough on how to make a pottery bowl picks up exactly where centering ends.
How Long Does Centering Take to Learn?
The honest answer is four to eight weeks of regular practice before centering feels natural. Regular meaning two or three sessions a week, an hour at a time. Less than that and progress is slower, not impossible. More than that and you’ll see breakthroughs faster, but everyone hits a plateau around week three where it feels like the clay is winning every round. Push through.
One trick that accelerates learning: practice the cone-up motion in isolation. Set a small ball of clay on the wheel, run it at medium-high speed, and just practice raising the cone with both hands. Don’t worry about pushing it back down. Once the cone-up feels reliable, add the push-down. Breaking the motion into halves lets your hands learn each piece without the mental load of doing both.
The breakthrough moment is kinesthetic and it sneaks up on you. Most potters describe it the same way: one day, the clay suddenly “locks in” under your hands. It stops fighting back. You can feel it spinning evenly, and your hands know it’s centered without needing the wobble test. That feeling is the goal. Once you have it, you have it for life, and every session after that just deepens the muscle memory. For ongoing technique inspiration, the archive at Ceramics Monthly publishes long-form technical articles from working studio potters that are worth following.
Frequently Asked Questions
How fast should the wheel spin when centering clay?
Medium-high speed, about three-quarters of maximum on a standard wheel. Slow speeds make centering harder because there isn’t enough centrifugal force to assist; very fast speeds turn small wobbles into violent shakes. As you become more confident, you can slow the wheel down for the final pass to check stability.
How much clay should a beginner center?
Start with 500 grams to 1 kilogram, which is about a pound to two pounds. Larger lumps need more body weight and coordination than most beginners can manage. Small lumps teach the technique without exhausting you, and you can throw a small bowl or cup from that amount.
Why does my clay keep flying off the wheel?
Either the clay isn’t stuck firmly to the wheel head, or you’re not centered when you start pulling walls. Slap the clay onto the wheel head with real force before starting, and always confirm centering with the wobble test before opening. A loose attachment also happens when the wheel head is dry; a damp wheel head grips clay better than a bone-dry one.
What does “centered” clay feel like?
It feels still under your hands even though the wheel is spinning. Your hands stop being pushed sideways by the clay, and the lump seems to disappear into itself. Many potters describe it as the clay “locking in,” and once you’ve felt it, you’ll recognize it immediately every time after.
Is centering clay easier with soft or firm clay?
Medium-firm clay is easiest to center. Too soft and it smears and collapses; too firm and your hands wear out trying to move it. The right consistency takes a steady thumb press without crumbling and holds the shape you push it into without springing back.
Do I need to use water when centering?
Yes. Dry hands grab the clay surface and pull it out of round. Keep a water bucket within easy reach and re-wet your hands every 20 to 30 seconds, drizzling a little water onto the clay as well. The clay should look glossy throughout the centering process.
Can I center clay without a pottery wheel?
Not in the wheel-throwing sense. Centering is specifically the act of getting clay to spin concentrically on a rotating surface, so it requires a wheel. You can practice hand-building techniques like coil and slab construction without a wheel, and those teach valuable clay handling skills, but they don’t substitute for wheel centering.
How do I know when to stop centering and start opening?
When the clay passes the wobble test, the fingertip test, and the visual check, you’re ready. If any one of those still shows movement, do another pass. Better to spend an extra minute centering than to ruin a piece by opening clay that wasn’t ready.
WORD_COUNT: 2750