
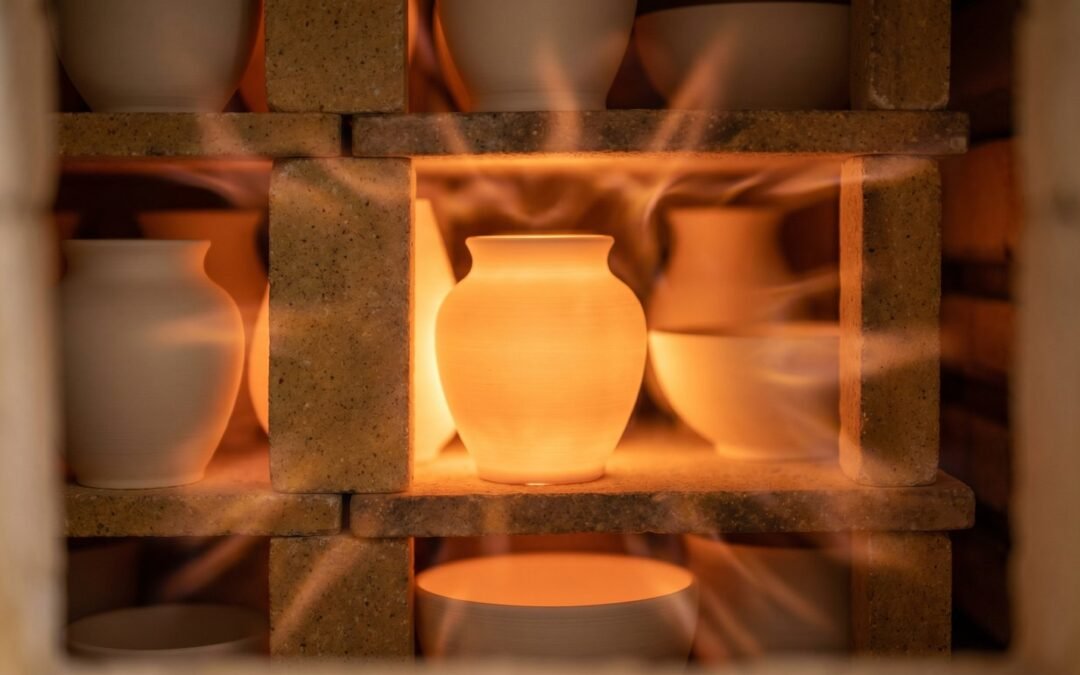
You finished a piece, fired it once, glazed it, fired it again. And now you are wondering: is that it, or can pottery be fired more times? The short answer is that most pottery is fired twice, but the actual ceiling depends on the technique, the clay body, and how much risk you are willing to accept on each subsequent firing. This guide covers the standard 2-fire cycle, the bisque firing temperatures that define it, the legitimate reasons to add a third or fourth firing, and what breaks when you push beyond.
The Short Answer
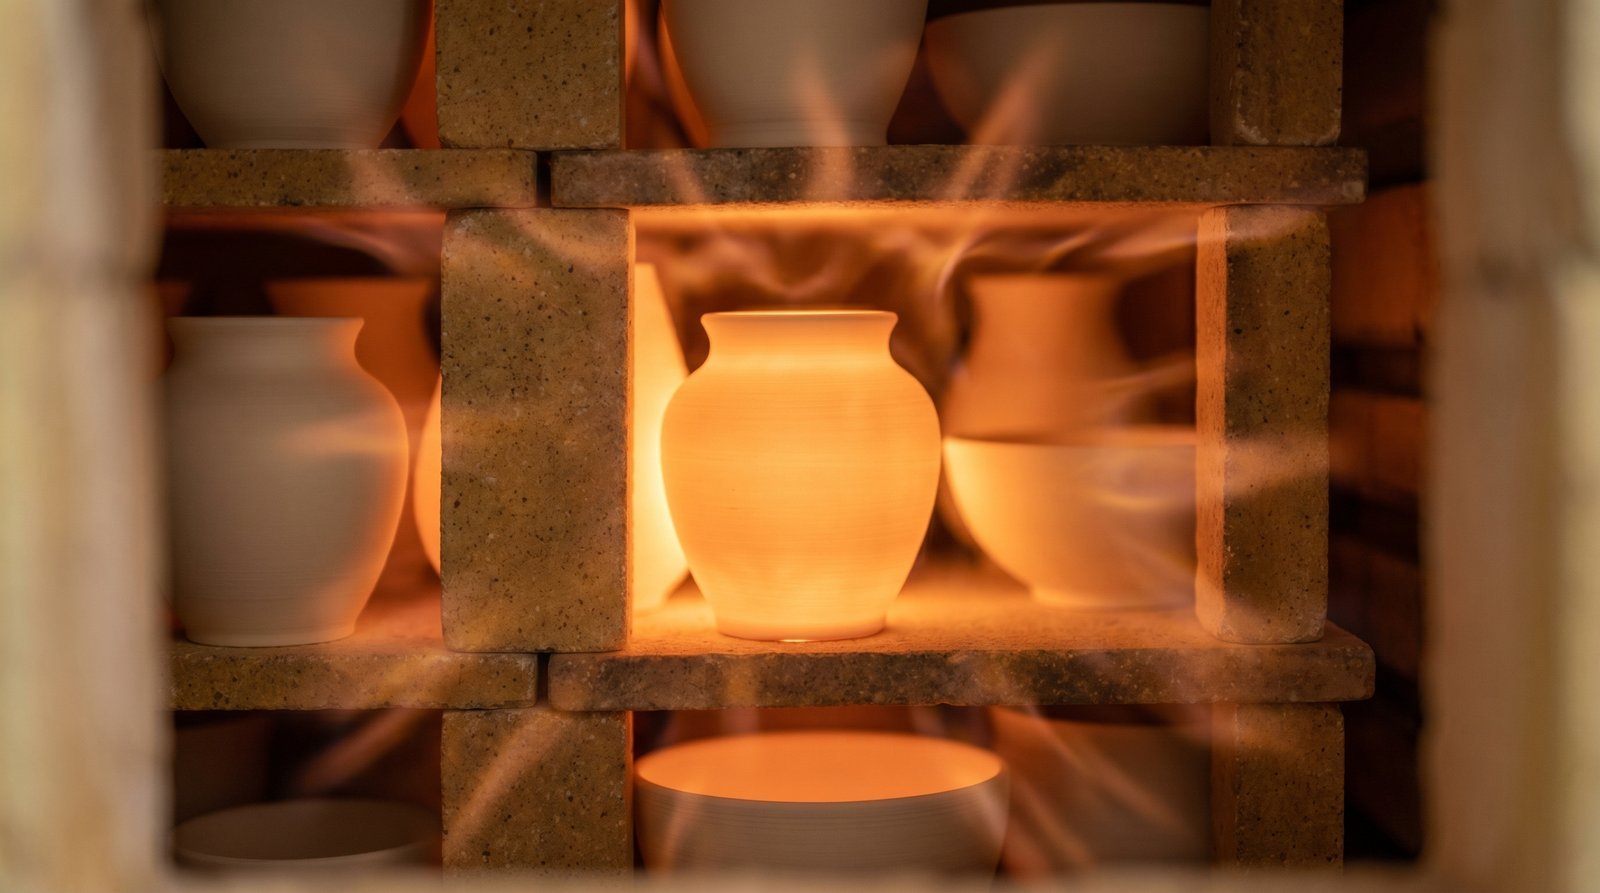
Most pottery is fired two times: a bisque firing at roughly 1,830 to 1,940°F (cone 06 to cone 04) to harden the raw clay, then a glaze firing at 1,800 to 2,400°F depending on the clay type and glaze. Some advanced techniques (lusters, decals, multi-layer color work) require a third firing. You can refire an already-finished piece, but every firing past the second adds risk of cracking, glaze defects, or color shift. The practical ceiling for most studio pottery is 3 to 5 firings before a piece starts to degrade.
The Two Standard Firings: Bisque and Glaze
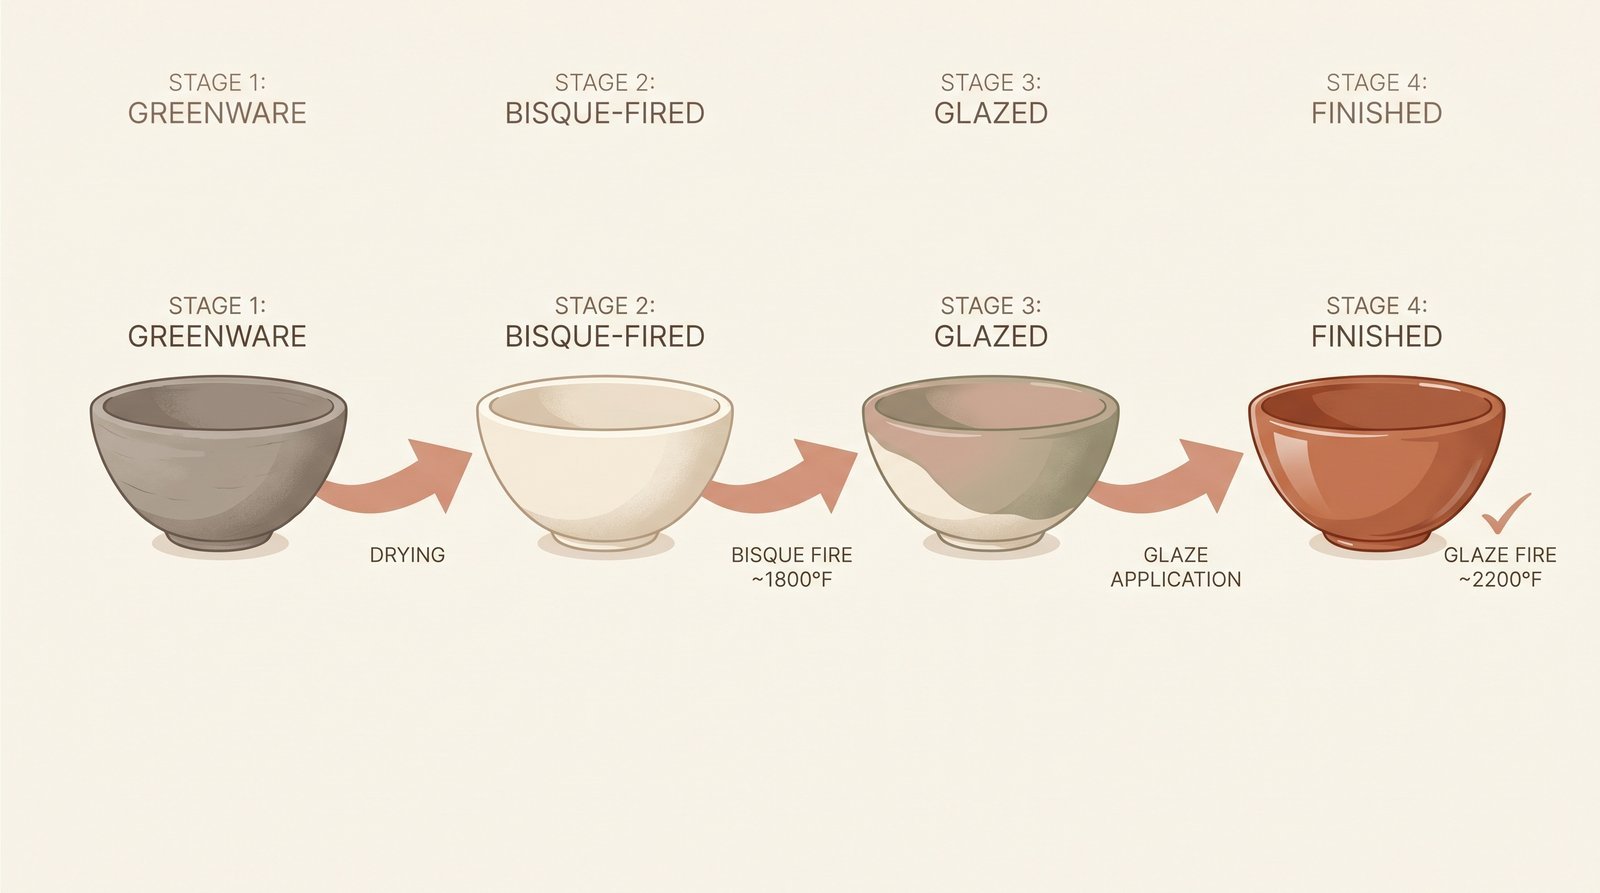
Almost every piece of pottery you see in galleries, kitchens, and craft fairs went through two trips through a kiln. The two firings serve completely different functions, and the sequence matters.
First Firing: Bisque
The bisque firing (sometimes called the “biscuit firing” in older British texts) converts greenware, raw dried clay, into a porous but rigid ceramic state. After this firing, the piece will no longer dissolve in water and can be handled safely for glazing. Bisque-fired pottery is the cream-colored, slightly chalky surface most studio potters glaze on top of.
The bisque firing typically runs at cone 06 to cone 04, which translates to roughly 1,830 to 1,940°F (1,000 to 1,060°C). Some studios go lower (cone 08, around 1,750°F) for delicate or thin pieces, and a few go higher (cone 02 or 1, around 2,015°F) when they want more vitrification before glazing.
Second Firing: Glaze
The glaze firing happens after you have applied liquid glaze to the bisque piece. The kiln melts the glaze into a glassy coating fused to the clay surface, and depending on temperature, also vitrifies the clay body itself for structural strength and (in stoneware and porcelain) waterproofness.
Glaze firing temperatures vary dramatically by clay type:
- Earthenware: cone 06 to cone 02, around 1,830 to 2,015°F. Stays porous; needs glaze for water resistance.
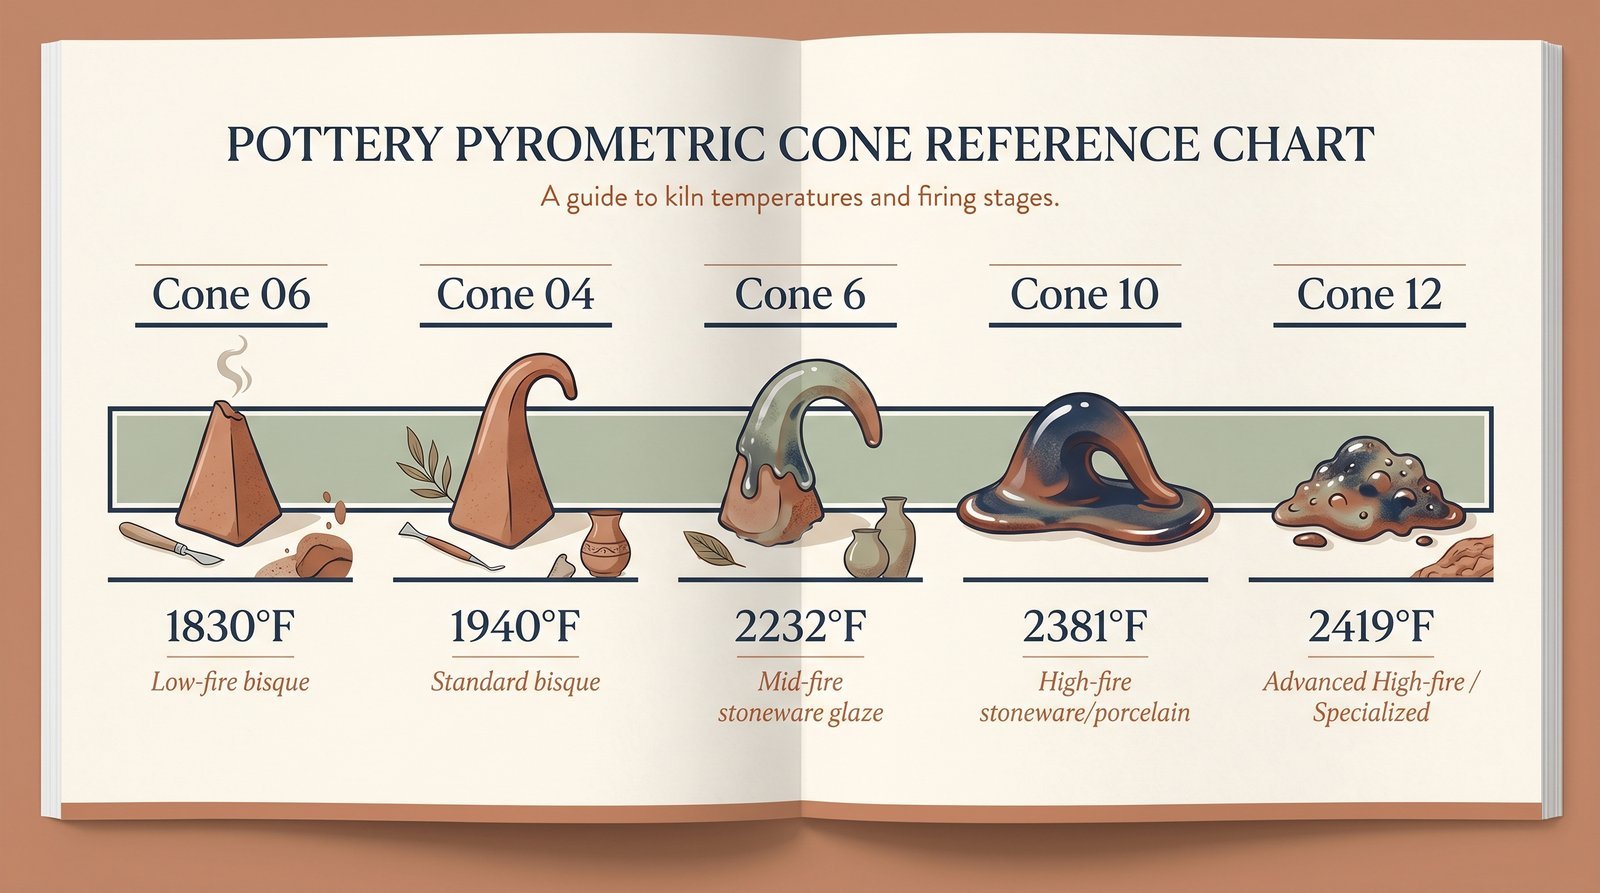
- Mid-fire stoneware: cone 6, around 2,232°F (1,222°C). The most common range for functional studio pottery in 2026.
- High-fire stoneware: cone 10, around 2,381°F (1,305°C). Industrial and traditional studio work; harder clay, more glaze options.
- Porcelain: cone 9 to cone 11, around 2,300 to 2,400°F. Vitrifies fully, becomes translucent on thin sections.
If you are still picking out a kiln or wondering whether to bisque-fire at home, our guide on how to fire pottery walks through the practical kiln setup side.
Bisque Firing Temperature: What You Need to Know
The bisque firing is where most beginners hesitate, because cone numbering is confusing and the temperature you pick locks in how the rest of your process behaves. Here is what actually matters.
Cone Numbering, Explained
Pottery cones are small triangular witnesses placed in the kiln that bend at specific temperatures. The cone number system is read backwards: cones with a leading zero (cone 06, 04, 02) are lower temperature, ascending in number as temperature decreases. Cones without a leading zero (cone 1, 6, 10) are higher temperature, ascending as temperature increases. Digitalfire’s cone reference remains the canonical source for exact temperature equivalents at different ramp rates.
The Practical Bisque Range
For 95% of studio pottery, your bisque firing belongs in the cone 06 to cone 04 range:
- Cone 06 (~1,830°F / 1,000°C): Low-fire bisque. Leaves the clay quite porous, which is excellent for glaze absorption. Best for white earthenware and red terra cotta.
- Cone 04 (~1,940°F / 1,060°C): The studio standard. Most commercial bisque clays are formulated for this range. Good balance of porosity and strength.
- Cone 02 (~2,015°F / 1,100°C): Higher bisque. The piece is stronger to handle but less porous, which can cause glaze absorption issues if you are applying thin glazes.
Why Bisque Temperature Matters
If you bisque too low, the piece is fragile and may chip during glazing. If you bisque too high, the surface gets too dense and glazes either run off or fail to bond properly. A glaze designed for cone 04 bisque will behave differently on a cone 1 bisque, which is one of the most common sources of “my glaze keeps crawling” complaints in pottery forums.
Common Bisque Firing Mistakes
- Firing too fast. The early phase of bisque firing has to drive off chemical water from the clay. A ramp rate faster than 200°F per hour up to 1,100°F can cause pieces to explode in the kiln.
- Loading damp greenware. Even pieces that look dry can hold significant moisture. Bone-dry greenware should sit in your studio for 5 to 7 days minimum, longer for thick pieces. Our breakdown of how dry pottery should be before firing covers the warning signs.
- Overcrowding. Kiln shelves and posts have heat-mass requirements; jammed kilns develop hot spots and cold spots that produce uneven bisque.
- Not using witness cones. Electronic kiln controllers are accurate to within 25°F or so. Witness cones tell you what the kiln actually reached at the position of your work.
Beyond Two Firings: When a Third Firing Makes Sense
Most pottery stops at the standard bisque plus glaze. But several legitimate techniques require additional firings, and a few specialty practices push to 5 or more firings per piece.
Lusters and Metallic Overglazes
Lusters (gold, silver, mother-of-pearl finishes) require a separate, lower-temperature firing applied over an already-glazed surface. The luster firing typically runs at cone 022 to cone 018, around 1,200 to 1,300°F, well below normal glaze temperatures. This is always at least a third firing.
Decals and Decoration
Ceramic decals, similar to those used on commercial dishware, are applied to glaze-fired pieces and fired at low temperatures (cone 018 to cone 015, around 1,300 to 1,450°F) to permanently set the design into the glaze surface.
Color Layering and Onglaze
Some studio potters fire each glaze layer separately to control how colors interact. A piece with three different glaze colors might see a bisque firing, then three sequential glaze firings (one per color), totaling four firings.
Crystalline Glazes
Crystalline glazes that require a controlled hold-and-soak at peak temperature, followed by a cooling phase that grows visible crystals, sometimes need a second glaze firing to develop the full pattern. These are the highest-difficulty studio pottery firings and the ones where multi-firing is most likely.
Can You Refire Pottery That Is Already Finished?
Yes, with caveats. The behavior depends entirely on whether the piece has been glaze-fired or not, and what you are trying to fix or change.
Refiring Bisque-Fired but Unglazed Pottery
This is the easiest refire. A bisque-fired piece that has never been glazed can go back through another bisque or directly to a glaze firing without major risk. Many studios bisque-fire a batch and then glaze-fire individual pieces over weeks or months as glazing proceeds. The piece will not change appreciably between cycles.
Refiring Already Glaze-Fired Pottery
This is where things get more interesting and risky. Once a piece has been through a full glaze firing, the clay body has vitrified and the glaze has formed a glass coating. Putting it back in the kiln:
- Re-melts the glaze, which can cause it to run, pool, or pull away from edges
- Can crack the clay body from accumulated thermal stress, especially on the cooling cycle
- May shift glaze colors as oxides interact differently with each heat exposure
- Can cause crawling (where glaze pulls back into beads) or pinholing (small surface pits)
Most refires succeed. Most. The general rule among production potters: refire if the alternative is throwing the piece away, otherwise leave it alone.
Common Refire Scenarios
| Scenario | Refire Risk | Likely Result |
|---|---|---|
| Bisque-only piece needs another bisque | Very Low | Indistinguishable from a first bisque |
| Bisque-fired, refire at higher bisque temp | Low | Slightly stronger, less porous |
| Glaze-fired but missed a spot (interior unglazed) | Medium | Usually fine if existing glaze is mature; can be uneven if reheated above original cone |
| Glaze-fired, want to add a second glaze color | Medium-High | Color works in 70-80% of cases; risk of glaze interaction issues |
| Glaze-fired with crawling or pinholing | Medium-High | Often improves on refire; sometimes makes it worse |
| Already refired once, wanting third firing | High | Cumulative stress; cracking risk increases each cycle |
| High-fire piece refired hotter than original | Very High | Often catastrophic; glaze may bubble, clay may slump |
How to Refire Glazed Pottery (When You Have To)
If refiring glaze-fired pottery is the only path forward, here is the safe procedure:
- Fire to the same cone as the original glaze firing, not higher. Hotter than original is where most failures happen.
- Ramp slowly through the first 1,000°F. Glazed pieces have less thermal cushion than greenware; a fast ramp can crack them.
- Hold at peak temperature for the same duration as the original firing schedule. If you don’t know the original schedule, 15 to 30 minutes is a safe default.
- Cool slowly. The cool-down cycle is where refired glaze problems usually surface. Slow the cooling rate below 800°F by leaving the kiln dampers closed.
How Many Firings Is Too Many?
The practical ceiling varies by clay type and technique, but here are the rough limits experienced studio potters use:
- Stoneware (cone 6 to 10): 4 to 5 firings before noticeable strength degradation.
- Earthenware (cone 04 to 02): 3 to 4 firings; lower-temperature clays accumulate stress faster.
- Porcelain: 4 to 6 firings; the dense, fully vitrified body is actually more refire-tolerant than mid-range clays.
- Multi-color decoration pieces: 5 to 7 firings is common, but each piece is a calculated risk.
Beyond these ranges, the clay body starts to micro-crack invisibly, glazes accumulate defects, and the piece becomes structurally compromised even when it looks fine.
Common Refiring Problems and Their Fixes
If you have decided to refire and are bracing for what could go wrong, these are the failure modes most commonly reported in pottery community forums and studio kiln logs.
Cracking
Most refire cracks happen during cooling, not heating. Cause: residual thermal stress from accumulated firings. Fix: slow your cool-down rate by 25 to 50% below normal. Modern programmable kilns let you set a controlled cool below 1,000°F.
Glaze Crawling
Glaze pulls back from areas of the piece, leaving beads or bald spots. Cause: the glaze cannot wet the already-vitrified surface as well as it did on raw bisque. Fix: lightly bisque-fire the piece between glaze coats, OR apply the new glaze thicker than normal to compensate.
Pinholing
Tiny pits form in the glaze surface. Cause: gas evolution from the clay body during the second firing, with no time for the glaze to heal over the holes. Fix: extend the peak-temperature hold by 5 to 10 minutes to give gases time to escape and glaze time to flow over.
Color Shift
Glazes that contain copper, iron, or chrome oxides can shift color on refire as the oxides oxidize or reduce further. Cause: extended exposure to high temperature changes the oxidation state. Fix: this one is hard to prevent; some color shifts are baked into the chemistry. Track which glazes are stable across refires for your studio.
Related Sellpots Resources
If you are early in your pottery journey and still building out your setup, our guide to pottery wheel costs covers the production-side investment. The clay types guide explains which clay bodies fit which firing temperatures. And our breakdown of whether pottery can be too dry to fire covers the greenware prep side.
Frequently Asked Questions
Can you refire pottery with the same glaze?
Yes. Applying additional thin coats of the same glaze and refiring is one of the most reliable refire scenarios. The new glaze layer bonds to the existing mature glaze layer, and color/finish stay consistent. Best results when you stay at or below the original firing temperature.
How long does each firing take?
A typical bisque firing runs 8 to 12 hours from cold start to peak, then 12 to 18 hours of cooling before the kiln is safe to open. A glaze firing is similar: 8 to 14 hours up, 14 to 24 hours down. Larger kilns and slower ramp schedules push these longer. Plan for a full 24 to 36 hour cycle per firing.
Will refiring weaken pottery?
Slightly, yes. Each thermal cycle adds micro-stress to the clay body. The first 2 to 3 firings have negligible effect; firings 4 through 6 produce measurable but usually acceptable strength loss; beyond 6 firings the piece’s structural integrity is noticeably compromised. For functional ware (mugs, bowls, plates), keep total firings to 4 or fewer.
Can you change a glaze color by refiring with a new glaze?
Yes, but with caveats. Applying a darker glaze over a lighter one usually works. Applying a lighter glaze over a darker one rarely works because the underlying color shows through. Test on a sample piece before committing to a whole batch.
Is single-firing pottery possible?
Yes. Single-fire pottery (where greenware is glazed and fired in one cycle) is a legitimate technique, especially common in traditional Asian pottery and some studio production. It eliminates the bisque step entirely but requires careful glaze formulation and slower firing schedules. Most beginners should stick with the two-firing process; single-firing rewards practice and a deep understanding of your specific clay and glaze chemistry.
Firing temperatures, cone equivalents, and refire behaviors in this guide reflect mid-2026 industry consensus across major US pottery suppliers and educational sources. Specific clay bodies and glazes may behave differently; consult your manufacturer’s data sheet for exact firing schedules before committing a kiln load.